This summer has been disgustingly hot and humid. I finally tossed my ice cream maker bowl into the freezer intent on cooling off with some delicious home-made ice cream. In my pre-Paleo days, my all-time favorite ice cream used to be Haagen Dazs Mint Chip. I remember it was the first mint chip ice cream I had seen that wasn't artificially colored green like most other mint ice creams. I also remember that after I took the first bite I was ringed in a warm circle of light while a choir of angels started singing. Yes, it's THAT good. And this dairy-free version is pretty much the mirror image of the real thing so you are certainly in for a treat.
The only thing about making home made ice cream from coconut milk is that the consistency is a bit off. Fresh out of the ice cream maker will be VERY soft, although yes, ready to eat. I freeze mine for half a day at least before enjoying, so it will harden up and not turn to liquid the minute it hits your bowl. When eating the leftovers out of the freezer, I leave the container sitting out for 10 minutes or so before I start hacking into it so it can soften up a little.
This recipe is for a 2qt capacity ice cream maker. If you have a smaller machine, cut the recipe in half.
Ingredients
- 2 (14oz) cans coconut milk (regular, not reduced fat)
- 1/2 cup raw honey
- 1 tsp pure vanilla extract
- 2 tsp pure mint extract
- 1 pinch sea salt
- 1/2 cup chocolate chunks* (% cacao of your choosing)
- In a large bowl, whisk together the coconut milk, honey, vanilla, mint, and salt until combined. (If you have very solid honey, melt it a bit first in the microwave.)
- Dump the mixture into your ice cream machine and process according to your machine's directions. (I have the 2 qt Cuisinart ice cream maker and I process 30-35 minutes total.)
- Dump in the chocolate chunks while the machine is moving for the last 5-10 minutes of processing. (I dump mine in at the 25 minute mark.)
- Turn off your machine when the ice cream reaches your desired consistency. (The best you will get is like an icy soft-serve.)
- You can eat the ice cream right away - but I do mean RIGHT AWAY as it will immediately begin to melt the minute you scoop it into a bowl. Or - you can put it in an airtight freezer-safe container and let it harden up a bit. When storing in the freezer, place some plastic wrap flush against the top of your ice cream to prevent ice from forming before sealing the container. I let mine freeze at least half a day before enjoying.
*Note: You have several options when it comes to the chocolate chunks. I have bought good-quality 72% cacao dark chocolate and chopped it up into bits with a knife as you can see below. They also sell
bittersweet chocolate chips (60% cacao) which can be chopped up into smaller bits. And if you want to be strict Paleo with this recipe, you can even purchase cocoa nibs (100% cacao bits). And if you're gross, you can use unsweetened baker's chocolate. But, ewwww.
 |
| About 5 squares of this chopped is 1/2 cup |
 |
I like having bits of varying sizes - some larger bits, some
very small, and I even scoop up all the little shavings left
on the cutting board. |
 |
| Whisk together everything but the chocolate. |
 |
| Dump the mixture into your ice cream maker. |
 |
| Add the chocolate about 25 minutes into processing. |
 |
| Look at them chips get in there. |
 |
Spatula Mickey says he also hears the angels singing.
(I recommend using a rubber spatula to scrape out
your bowl so you don't scratch it.) |
 |
| Store in an airtight, freezer-safe container. |
 |
Place plastic wrap flush against the surface of the ice cream
to prevent ice from forming. |
 |
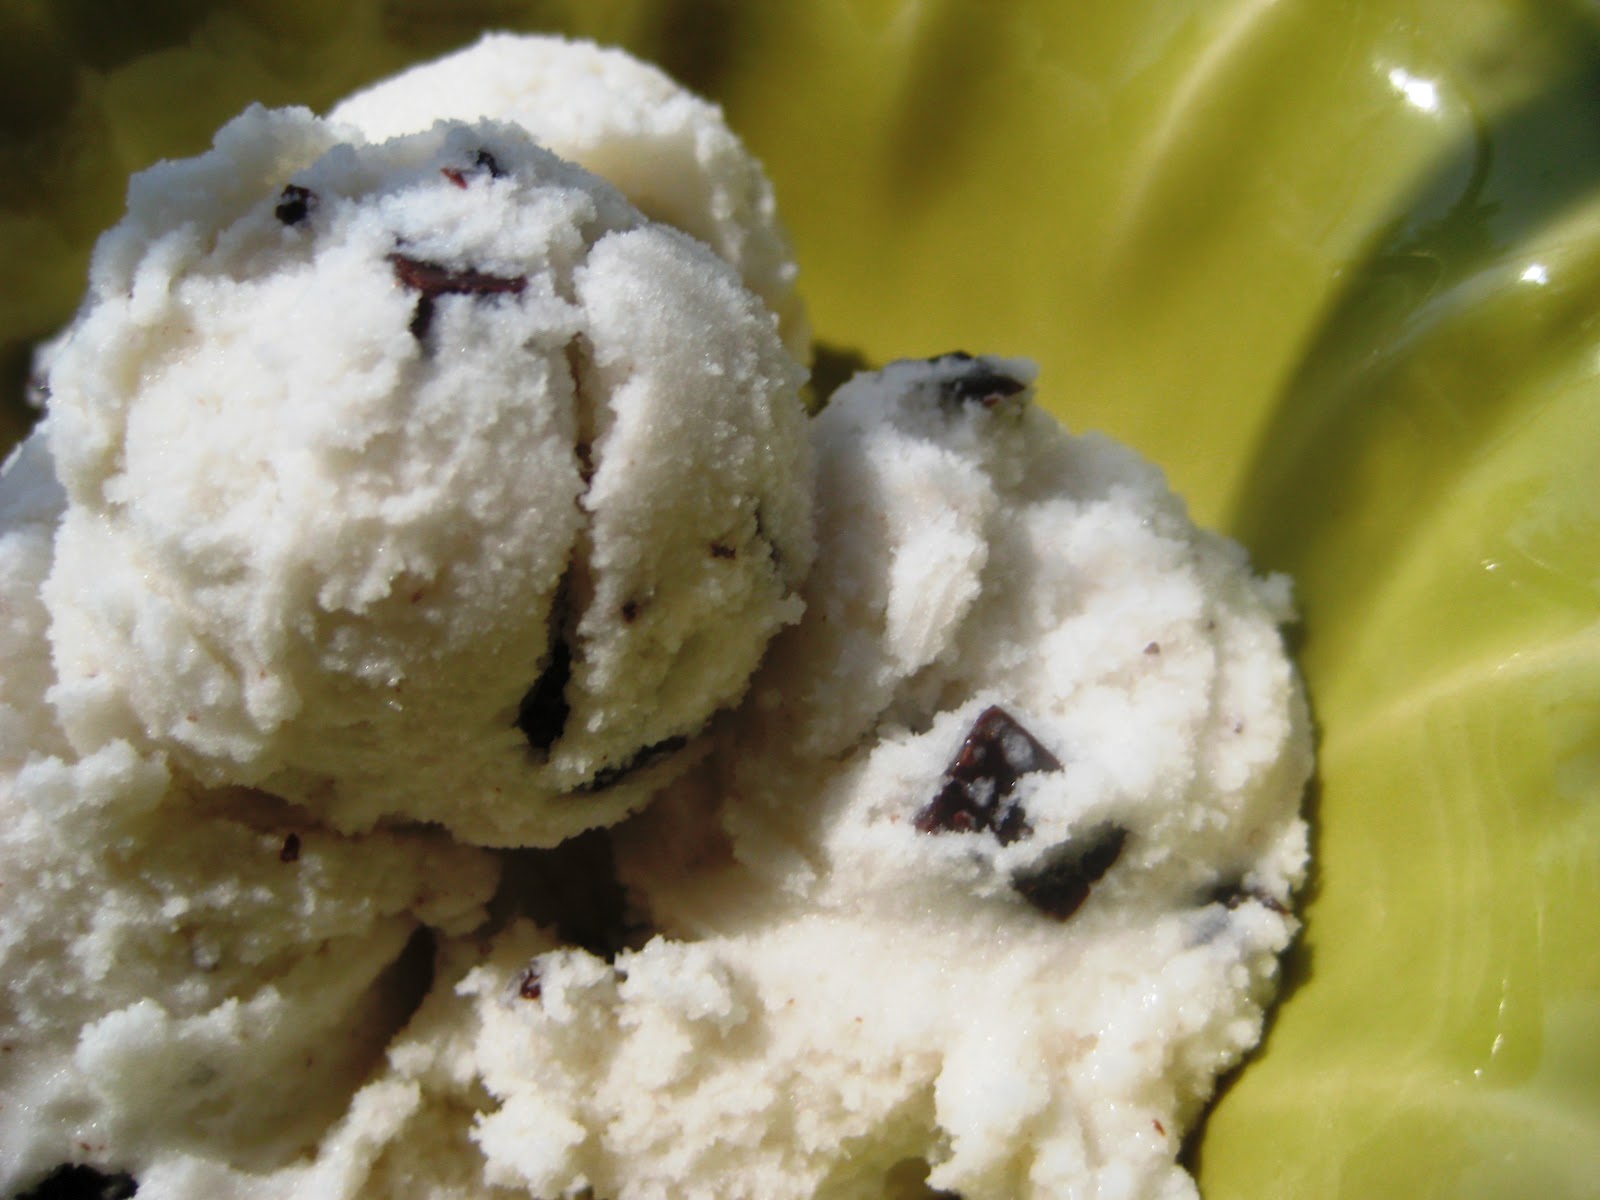
| Enjoy on a nice hot day! |