Tuesday, May 29, 2012

Turkey Burgers with Apple "Buns"


Summertime barbeques are in full effect and for those of us on Paleo, it means a lot of sideways glances from people who see you eating your burger with a knife and fork. I paired two flavors that work extremely well together - turkey and apple - to make a Paleo-friendly burger you can eat with your hands.

Ingredients
  • 4 ground turkey patties
  • a few spoonfulls of coconut oil, melted
  • a few handfulls of organic baby spinach
  • a bit of red onion, sliced into rings
  • a few splashes of balsamic vinegar
  • 2 sweet apples (fuji, gala, etc)
  1. Brush both sides of the turkey patties with the melted coconut oil for some extra flavor. Cook your burgers to desired doneness using a grill pan on the stove or your barbeque.
  2. Prepare your apple "buns" by slicing apples vertically about 1/2" thick until you have at least 8 slices.
  3. Build your burger by stacking an apple slice, then turkey patty, then some spinach leaves, then a few rings of onion, use a splash of vinegar instead of the traditional ketchup and top it off with another slice of apple.
  4. Grab it with your hands, take a big bite, and enjoy!
NOTE: If you plan to prepare the apple slices ahead of time, they will get brown if they sit out more than a few minutes. Brush them with a little lemon juice (or other acidic-type juice) to stop that from happening.

If you use a grill pan, make sure it gets VERY HOT before putting your patties on.


Monday, May 28, 2012

Recipe Test - Citrus Carnitas


Sorry it's been so quiet around here. My husband and I just finished up 2 weeks of training with the Army National Guard. That picture of us is from when we first started dating back in 2005. ;) Needless to say, staying Paleo the last 2 weeks was somewhat of a challenge. I don't think I've eaten so much iceberg lettuce my entire life. Anywho, we're back just in time for Memorial Day Weekend - a time to remember those who have made the ultimate sacrifice.

“True heroism is remarkably sober, very undramatic. It is not the urge to surpass all others at whatever cost, but the urge to serve others at whatever cost.”  -Arthur Ashe

“The legacy of heroes is the memory of a great name and the inheritance of a great example.” -Benjamin Disraeli

May we all continue to learn from that example and be worthy of their sacrifice.

-----------------------------------------

Well, as most Americans are wont to do, for some reason we spend Memorial Day Weekend in a bbq'ing frenzy. This year we're breaking the mold and making some delicious stovetop carnitas (notwithstanding the fact that we live in an apartment building and don't even own a barbeque... we're still rebels!).


This is another amazing recipe from the cookbook Well Fed by Melissa Joulwan. What I love about her recipes are her use of spices - always the most creative combinations which make for very tasty dishes. This one is actually very simple to prepare, it just needs a lot of time on the stove. By the time you're done you will have the most delicious, fork-tender carnitas you've ever tasted!

Ingredients
  • 3-4 pounds pork shoulder (boneless or bone-in)
  • 1 rounded Tbsp cumin
  • 1 Tbsp garlic powder
  • 1/2 Tbsp salt
  • 1 tsp ground coriander
  • 1 tsp ground black pepper
  • 1 tsp ground cayenne pepper
  • 1/2 cup lime juice
  • 1/2 cup lemon juice
  • water
  1. With a sharp knife, cut the pork shoulder into a few large chunks. You don't want them bite-sized (make them about 3" to 4" across). Place the pork pieces in a large zipper storage bag.
  2. In a small bowl, combine the cumin, garlic powder, salt, coriander, black pepper, and cayenne; mix with a fork. Add the spice blend to the bag, zip closed, and shake assertively until all the pieces are coated with the spices.
  3. Place the pork in a large, deep pot. Pour the lime and lemon juice into the bottom of the pot, then add water to just cover the meat.
  4. Place the pot on high heat and bring the water to a rip-roaring boil. When it's rolling, reduce the heat to keep a steady strong simmer with the pan uncovered. The liquid should bubble a fair amount, but should not be a vigorous boil. While it's cooking, it will look like uninspired soup. As the water evaporates, the powerful acidic qualities of the citrus juice tenderizes the meat.
  5. At about the 2-hour mark, check the pot. The water should be much lower and maybe even almost gone. Allow all the water to cook out of the pan and watch as the meat fries and caramellizes in the pork fat and fruit juice. Make sure the exterior doesn't burn.
  6. Carefully turn the hunks of meat - without shredding them - to brown all sides, then remove the hunks to a plate and let them rest for 5 minutes before eating.
mmmm... meat hunks

Melissa Joulwan is not afraid of spices, that's for sure!

At first it seems like this will never cook down.

You might be losing faith after over an hour passes.

Stay patient! Before you know it, 2 hours rolls around and most of the water is gone.

Ah, the home stretch! Brown the meat on all sides for caramely-goodness.

Sunday, May 13, 2012

Dairy-Free Berry Parfait

This recipe uses a sweet version of my almond cream cheese recipe in place of the usual whipped cream topping. While a very simple recipe, it looks oh-so-fancy served in a wine goblet or champagne flute. I served these as part of Mother's Day brunch and they were a huge hit!

Ingredients
  • 1 pint blueberries
  • 2 large handfuls of strawberries
  • 2 bunches of grapes
  • About a half pint of chilled sweet almond cream cheese (for a sweet version, add 1 Tbsp raw honey and a few drops of vanilla to the recipe when blending)
  1. Wash and dry all your berries. Hull and slice the strawberries; leave blueberries and grapes whole.
  2. Arrange a few handfuls of grapes and blueberries in the bottom of a large wine goblet. Top with sliced strawberries.
  3. Top your berries with a few dollops of sweet almond cream cheese. Take care not to use too much as it will overwhelm the fruit in the glass. About 2 heaping spoonfuls should be plenty. (The pictures here actually have a little too much cream cheese in them.)
Tips for variations:
  1. Add a paleo granola layer for a sweet crunch.
  2. Insert a few whole toasted pecans or almonds into your dollop of cream cheese.
  3. Change the container between a wine goblet, champagne flute, glass tumbler, small ramekin, ice cream sundae bowl, etc.
  4. Make one large parfait by layering all your fruit and cream cheese together in a large glass bowl.
  5. Switch up your fruit by adding in kiwi, raspberries, blackberries, etc.


Thursday, May 3, 2012

Cioppino (Fish Stew)


Towards the end of Lent this year I was running out of creative fish ideas for No Meat Fridays. I'm not super-Catholic, but I do still try to practice some traditions. :)  I decided to try my hand at a heaping pot of Cioppino, the San Francisco fish stew. I read around a bunch online and found there really is no standard recipe for this, so I picked and chose what I liked and encourage you to do the same.

I warn you, this recipe uses an entire bulb of fennel. Don't be afraid, it is easy to work with and in no way overpowering in terms of flavor. (I know some of you out there have an aversion to trying new foods, to which I say - stop being a baby and try it!)

Ingredients
  • extra virgin olive oil
  • 1 large fennel bulb, thinly sliced
  • 1 onion, halved and sliced
  • 3 large shallots, chopped
  • 2 tsp sea salt
  • 6 garlic cloves, finely chopped
  • 3/4 tsp dried crushed red pepper flakes, plus more to taste
  • 1/4 cup tomato paste
  • 1 (28-ounce) can diced tomatoes in juice
  • 1 1/2 cups dry white wine (optional)
  • 5 cups low sodium chicken stock
  • 1 bay leaf
  • 1 pound small raw clams, scrubbed (manila or copper)
  • 1 pound raw mussels, scrubbed and debearded
  • 1 pound uncooked large shrimp, peeled and deveined
  • 1 1/2 pounds fish fillets (I chose halibut), cut into 2-inch chunks 
  • 1 handful torn fresh parsley leaves
  1. Heat a few tablespoons of olive oil in a large stock pot or dutch oven over medium heat. Add the fennel, onion, shallots, and salt and saute until the onion is translucent, about 10 minutes.
  2. Add the garlic and 3/4 teaspoon of red pepper flakes, and saute 2 minutes. 
  3. Stir in the tomato paste. Add tomatoes with their juices, wine, chicken stock and bay leaf. Cover and bring to a simmer. Reduce the heat to medium-low. Cover and simmer until the flavors blend, about 30 minutes.
  4. Add the clams and mussels to the cooking liquid. Cover and cook until the clams and mussels begin to open, about 5 minutes. Add the shrimp and fish. Simmer gently until the fish and shrimp are just cooked through, and the clams are completely open, stirring gently, about 5 minutes longer (discard any clams and mussels that do not open). 
  5. Season the soup, to taste, with more salt and red pepper flakes and stir in the fresh parsley.
Preparation Tips:
  1. Your fennel bulb should not be shriveled or discolored. Chop off the top stems and use your knife to skim off the bottom where you'll see a brown spot from growing. Discard these pieces. The bulb itself is formed into onion-like layers and smells like liquorice. You can even try eating a little raw. In Italy, they dip it in olive oil and sprinkle with sea salt as a snack.
  2. When working with clams and mussels, you should toss any that are raw but have opened up. Rinse them thoroughly and scrub off any sea growth that may have accumulated on their shells. (You may even be able to have the fish store clean them for you.) After the soup is cooked, throw away any clams or mussels that have not opened up.
  3. Don't bother working with shrimp that hasn't already been cleaned and de-veined. It is a waste of your time to do this yourself. Also, see if you can find shrimp that has already been peeled, or ask at the fish counter if they can peel them for you.
  4. Check your fish fillets for bones and cut off any skin that may still be on there.
  5. This is a no-brainer, but never purchase farm-raised seafood. Yuck yuck yuck. Spend a little extra cash for wild-caught.
mmmm... fennel

I was worried an entire bulb of fennel may have been too much, but it shrunk down and didn't overpower at all.


these are copper clams
the mussel on the left has opened and will be thrown away; the mussel on the right needs to be scrubbed

fin!


Wednesday, May 2, 2012

Spanish Tortilla


When I was in college I was fortunate enough to study a semester abroad in Spain. I fell in love with the Spanish culture and indulged in many of their delicious tapas (small-portioned, appetizer-like dishes). My apartment building was also home to a bakery on the ground floor where I bought fresh Spanish tortilla and ate it every morning before classes. In Spain, a tortilla is a thick omelette usually consisting of potato and onion held together by egg, although other little goodies can be mixed in as well. It is usually cut into wedges and can be served hot or cold. I used to buy a whole round tortilla and store it in the fridge. I would cut myself a slice every morning and heat it in the oven.

Years later, I wound up dating my husband whose family is Spanish (lucky me!) and his awesome momma would make me my very own tortilla whenever we would come over. But since Paleo, I thought my tortilla-eating days were over. That was until I was trying to think of how to get rid of some leftover turnip in my vegetable drawer.

I usually substitute turnips for potatoes in recipes like beef stew where you can hardly tell the difference. Why couldn't it work in a tortilla? I called my mother-in-law to make sure I had the method down right and busted out my frying pan ready to give it a whirl.

Now, there's no exact recipe to throw one of these together and seeing as I had two mis-matched blocks of turnip left, it's hard to tell you exactly how much you need. It also depends on the size of your frying pan. Mine is huge - 12" - so my amounts are much larger than if you have an 8" or 9" frying pan. I'm going to put the recipe below for the 12-incher that I made, but I encourage you to eyeball how full your pan is and work from there. I also spiced mine up with some good-quality Spanish chorizo and green onions I was lucky enough to have laying in the fridge, but this would be just as good with plain turnip and onion.

Ingredients
  • 1/4 cup extra virgin olive oil
  • Diced yellow turnip, make the pieces about 1" long (roughly 5 cups to fill a 12" frying pan)
  • 1 large onion, chopped
  • 3 green onions, sliced
  • a few handfuls of diced Spanish chorizo
  • 9 large eggs, beaten with a few pinches of salt mixed in (you need enough to cover the vegetables completely)
  • salt and pepper, to taste
  1. Heat olive oil in a large frying pan over medium-high heat.
  2. Fry the turnips about 8-10 minutes until they begin to soften.Sprinkle with a few pinches of salt and fresh ground pepper.
  3. Add the onion and cook a few minutes more until the onions are translucent and the turnip will "smush" when pressed down with a wooden spoon.
  4. If your vegetables are still swimming in oil, drain them off to the side before returning to the pan with about a tablespoon's worth of oil. Stir in the green onions and chorizo and cook for another minute more.
  5.  Cover the entire mixture with enough beaten egg to surround the sides and reach the top of the vegetables. Shake the pan lightly to ensure it all combines. When the omelette begins to solidify, use a spatula to loosen the sides and as much of the bottom as possible without breaking it up. Don't allow the bottom to burn.
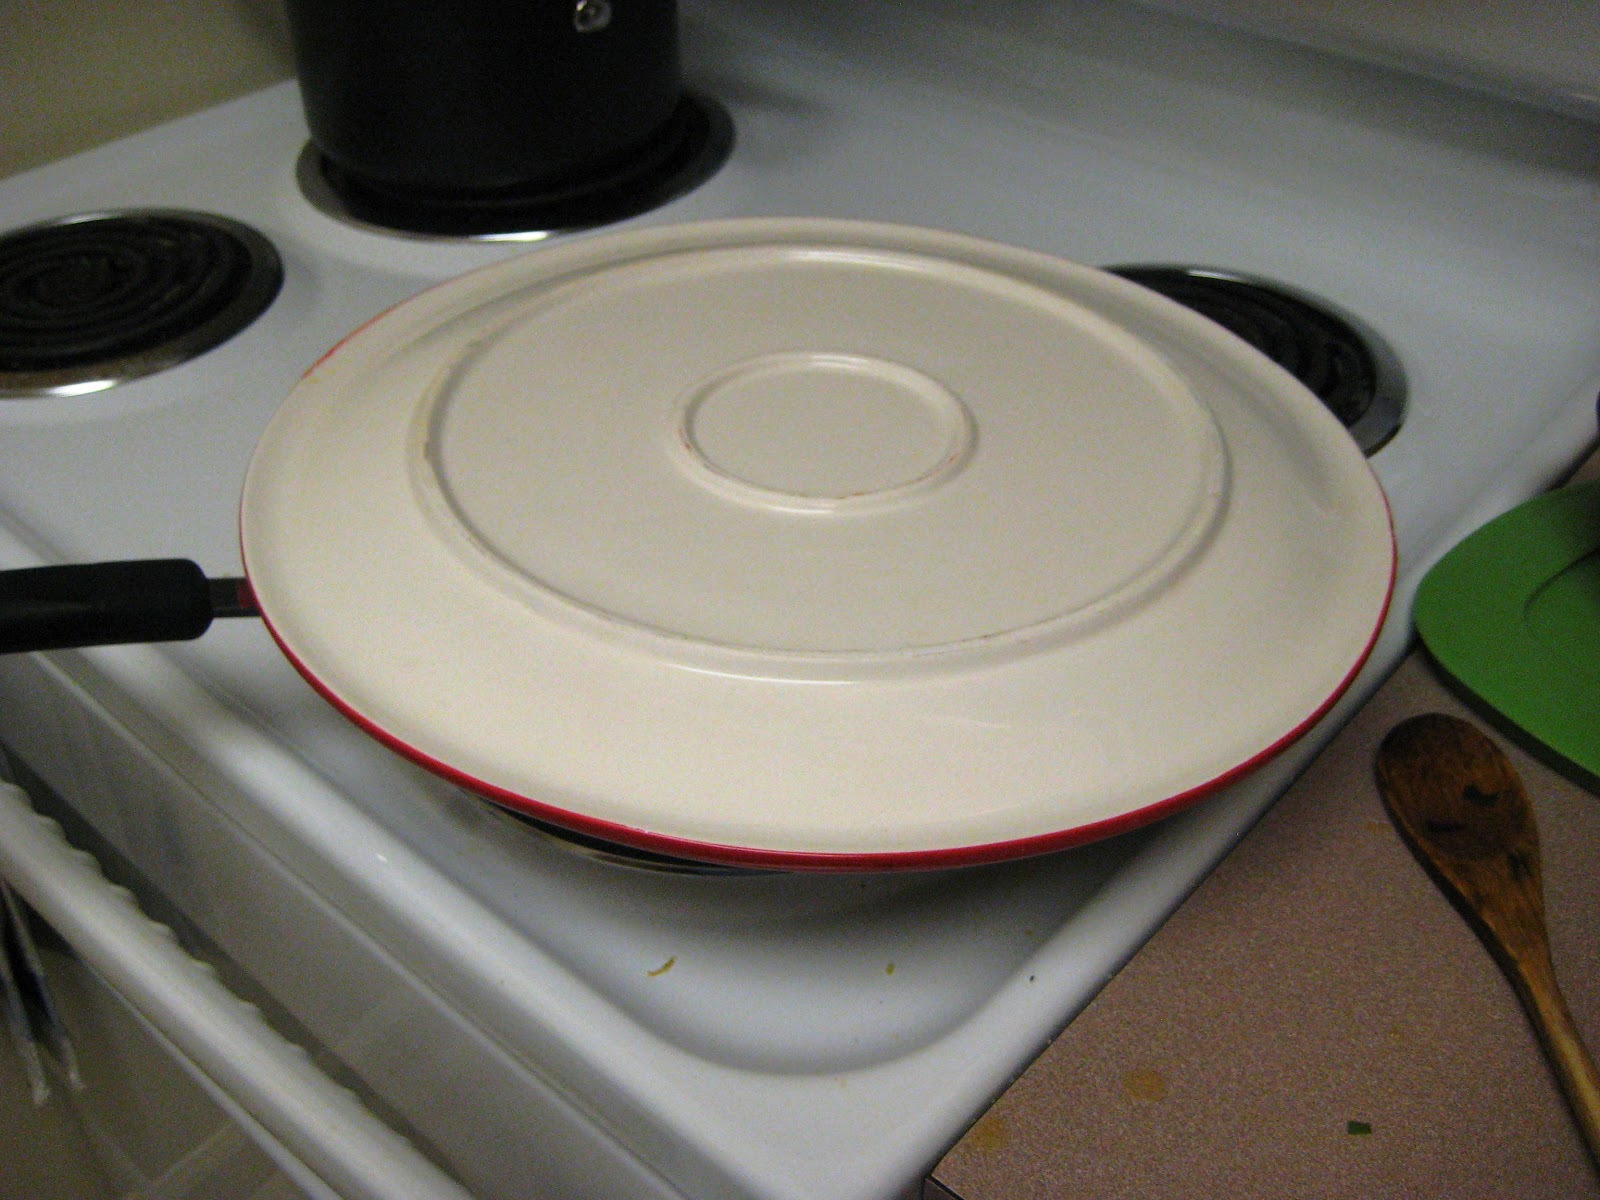
  6. When the egg has risen and is mostly cooked to the top, place a plate on top of the frying pan and turn the pan over to allow the tortilla to release onto the plate. Add a little more oil if needed and return the tortilla to the frying pan to brown the other side. When the other side is golden brown and cooked through, remove from the frying pan and allow to cool slightly before cutting. The tortilla can be eaten warm right away, or stored in the fridge for quite a few days and eaten cold or reheated. I recommend you sprinkle it with more salt, to taste, before serving.
¡Buen Provecho


because my frying pan is so large, I actually needed to use a platter to flip the tortilla

whoops, the bottom got a little browner than I wanted, but luckily it didn't taste burned
FIN!


Tuesday, May 1, 2012

Roast Pork Loin with Herbes de Provence


I love this recipe because it looks so fancy, but takes about 5 minutes of prep time and the oven does the rest of the work. Herbes de Provence are very popular in French cooking and are a great seasoning for poultry, pork, and many vegetables. I roasted mine in the oven, but you could also put it on the grill when the weather is nice. Also, your kitchen will exude the most delicious aroma because of the roasted herbs.

Ingredients
  • 1 boneless pork loin, trimmed
  • Herbes de Provence (add salt if it isn't already part of the mix)
  • Oil (Extra Virgin Olive, grapeseed, etc)
  1. Preheat oven to 350F. 
  2. Clean and trim the meat, but leave on a thin layer of fat otherwise your meat may dry out.
  3. Brush with oil and then rub with Herbes de Provence to create a beautiful herb-y crust.
  4. Place in a roasting pan on the middle rack of the oven and bake roughly 30-40 min per pound. The timing is just a guideline. Invest in a good meat thermometer to know for sure how well done your meat is. Insert the meat thermometer into the center of the meatiest part of your roast. About 140F for very rare meat, 150F for medium and 160-170 for well. Allow meat to rest away from the heat about 10 min before carving. (I prefer my meat at about 150F.)

This is one of my favorite seasoning blends. This particular bottle is garlic, thyme, basil, salt, bay leaf, onions, oregano, rosemary, lavender, black pepper, fennel seed, and other asst. spices.
brush that bad boy with oil so your herbs will stick and form a nice crust; I pour the herbs directly into the palm of my hand and rub it on the meat
I like my pork roast about 150F for medium/medium rare.
 
mmmm... that beautiful herb-y crust!