Saturday, November 8, 2014

Hot Spiced Apples (In under 4 minutes!)


We went apple picking at the very end of the season and took home a pretty good haul of Fuji, Rome, Granny Smith, and Red Delicious apples.

The orchard was like a dream... an oil painting come to life.

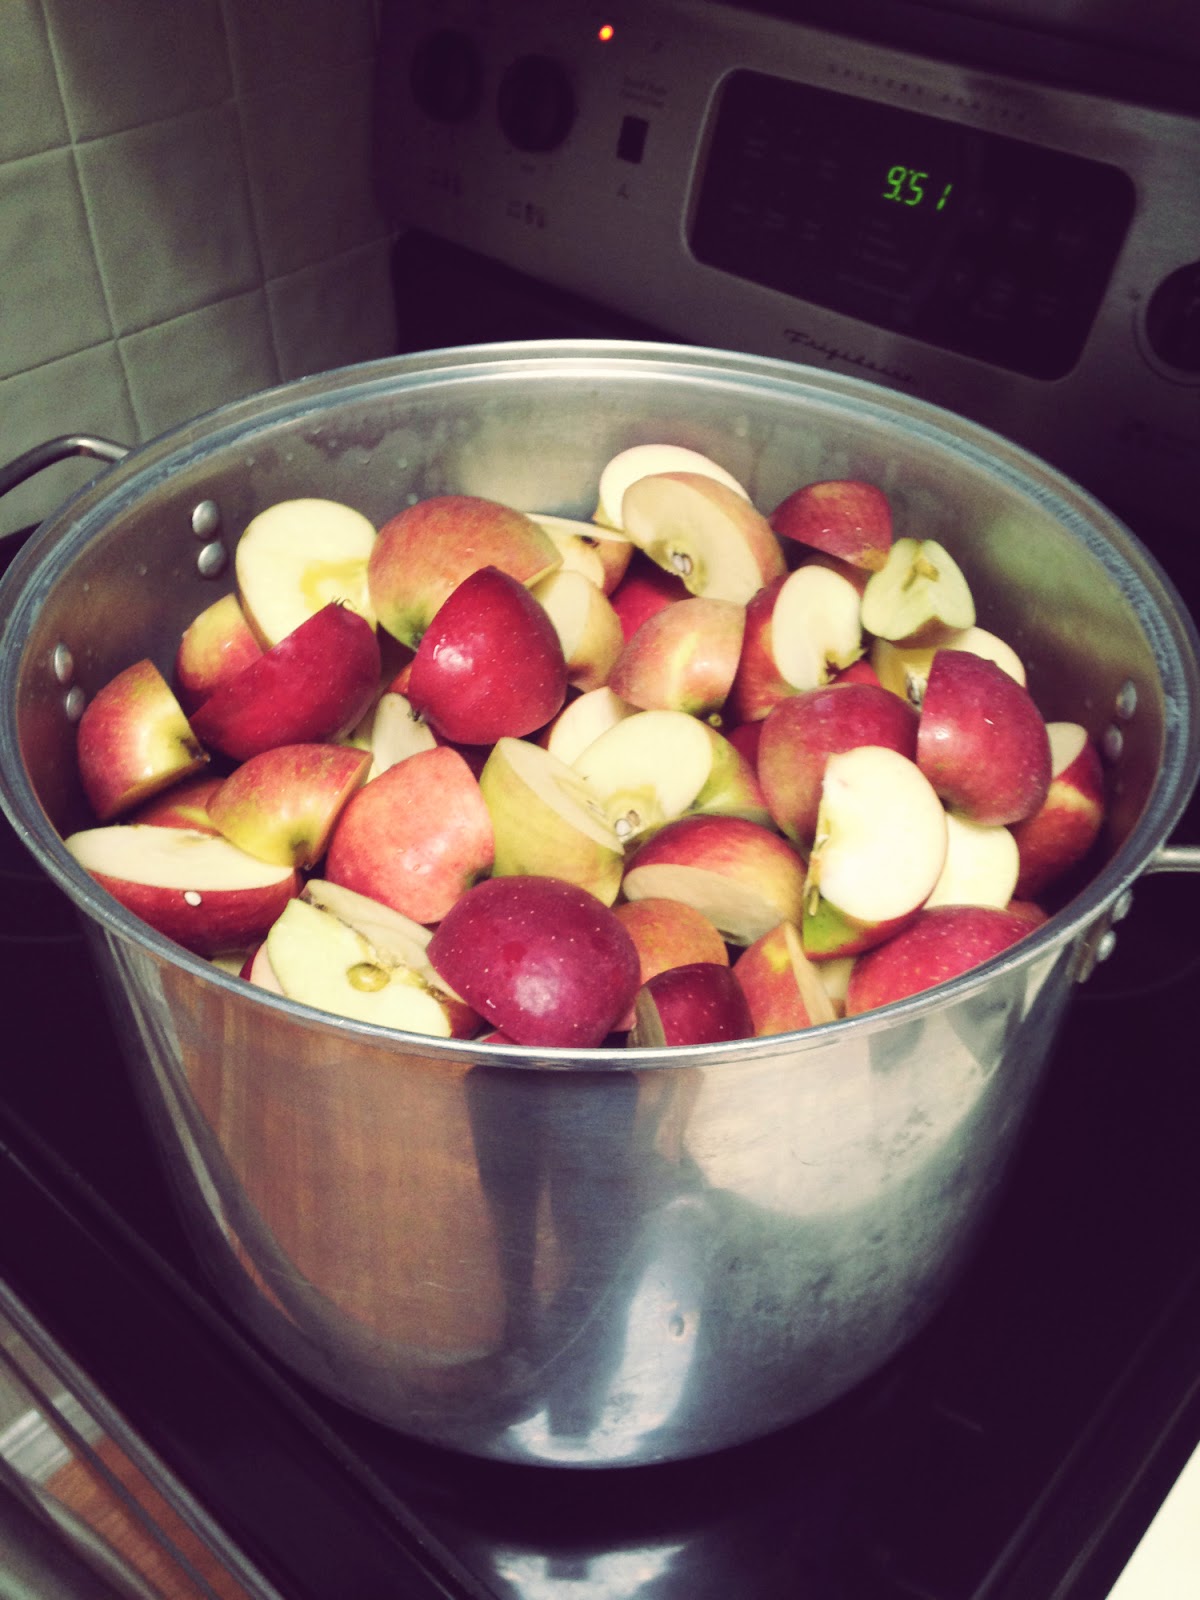
But, as always, the dream ends and reality sets in that you have a full bushel of apples sitting on your table - and what the heck are you going to do with all of them?

Just like last year, I made a huge pot of homemade applesauce. (Yes, that's grammie's big saucepot from my last post about meatballs.)

And I may have another apple-based recipe in the works soon. :)  But this morning I had a craving for a sweet, hot treat. I love baked apples, but I'm not always in the mood to do the prep and wait for the oven. This recipe for hot spiced apples is a shortcut recipe for traditional baked apples.

Ingredients

  • 1 apple (any kind)
  • Trader Joe's Pumpkin Pie Spice (or any warm, earthy spice like cinnamon, cloves, nutmeg, ginger, cardamom, etc.)
  1. Place the apple in the center of a microwave-safe plate and cover with a damp paper towel.
  2. Microwave for 2 and a half minutes, up to three and a half minutes, until the apple is completely soft.
  3. Use a knife to cut through the waxy skin around the stem and slice across the apple from one side to the other to spread the skin open and expose the soft apple meat inside.
  4. Sprinkle your spice over the apple, to taste.
  5. Enjoy!


The apple will usually burst at some point while microwaving
and some juice will seep out. I use this slit as one of the incisions
to open the apple up.


Take care when serving to small children - the apple seeds
will still be in there.
I love the Trader Joe's Pumpkin Pie Spice. Lots of other
spice brands have their own version of this, but
you can also just use your own combo of
warm and earthy spices.


Saturday, October 11, 2014

Grandma's (Paleo) Meatballs


My Gramma was pretty much the coolest human being who ever lived. Over the course of my entire life, she stuffed me full of delicious Italian food. Being that she was the first generation of Italian immigrants born in the USA, that Italian food was pretty dang good. Gramma didn't exactly know the meaning of Paleo when she was alive, but she knew the secret to making moist and delicious meatballs. Unfortunately for those of us who eat Paleo, those meatballs were stuffed with Parmesan cheese and Italian seasoned bread crumbs.


But guess what? If you strip both those things away, and swap in a little seasoned almond flour for the breadcrumbs, you'll be on your way to meatballs just the way Gramma used to make 'em - only Paleo style.

Why is my gramma giving metal fingers?
Because she's a M*****F****** BOSS, that's why!
But on to the recipe! Here are a few general notes for the best gaddang meatballs you've ever had in your entire life.

General Notes:
  1. Instead of boring ground beef, use meatball mix, which is equal parts beef, pork and veal.
  2. You need the egg AND the almond meal. Don't leave either one out. They'll bind the meatball and keep it spongy and moist. No one wants a gristly meatball. Blech.
  3. Use your hands to mix everything up - but don't overdo it. (And if you hate getting meatfingers, try wearing rubber gloves like I do. I have a thing about getting meatfingers, don't ask.)
  4. When rolling your balls, keep a light touch. Baddabing!
  5. Don't skip the sear. That delicious brown crust will take the meatball to the next level.
  6. Simmer your balls in (what better be) a delicious homemade sauce for 2 hours MINIMUM, though I usually go for 3. They'll be so tender it'll make you want to cry.
If you break any of these meatball commandments, Grammies will come haunt your ass. That's 4 feet 10 inches of pure Eye-talian spitfire. Trust me, you don't want that.

Need a tomato sauce recipe? Try Hand Crushed San Marzano Tomato Sauce. Just swap the pork out and the meatballs in. (Or leave it. You can never have too much meat, suckas.)


Ingredients

  • 2 lb meatball mix (or just plain ground beef if you suck at life)
  • 1 onion (grated or minced)
  • 5 cloves garlic (grated or minced)
  • 1 cup seasoned almond flour
  • 2 tsp salt
  • 1 egg
  • 1 Tbsp minced fresh parsley
  • 1 small drizzle of extra virgin olive oil
  1. Add all ingredients to a large bowl and combine with your hands. (See note #3 above regarding meatfingers. Yuck.)
  2. Roll the balls gently with your hands. If they stick to your fingers, coat your hands very lightly with a bit of the olive oil. I like big balls (zing!) so I make them about 2" a pop. I get about 18 large meatballs out of 2 lbs of meat. Set the balls aside on a baking sheet lined with parchment or wax paper.
  3. Heat about a tablespoon of extra virgin olive oil in a frying pan over medium high heat. Sear the outside of the meatballs in 2 batches until they have a nice brown crust. 
  4. Drop them in your saucepot when done and simmer on the stove for 2-3 hours.
(NOTE: You can add other meats to your pot along with the meatballs. I like tossing in sausages, pork bracciole, and even spareribs. Just remember to sear everything in the frying pan before you put it in the pot.)

the beauty of the meatball mix


That's my grammies' own big aluminum pot.
So many thousands of meatballs have passed through this pot.
It's like the holy grail of meatballs.
Buon Appetito!


Friday, July 4, 2014

Paleo Slushie


I've got to give credit for this recipe to "The King of Random" and his awesome YouTube channel that features cool science experiments and life hacks. I was able to use his experiment for the Self Freezing Soda with a nice tasty bottle of flavored sparkling water for a refreshing Paleo Slushie. Here is the video that inspired me:


Because every freezer is different, it took me a few tries to find just the right amount of time to keep my bottle in the freezer, so a little trial and error may be in order for you. But, it is totally possible to do this!

I grabbed a few bottles of sparkling water that were no sugar added (the only other ingredient is natural flavor) and shook them up vigorously:

Then I dropped it in the freezer and took about 2hrs 45min to get to the right temperature:

Then I carefully opened the cap to release the pressure, closed the cap tightly, and turned the bottle over a few times to begin the chain reaction of freezing:


The consistency wasn't 100% frozen and there was still a little liquid (and it melts quickly after pouring), but I found I liked the part watery, part icy consistency and thought this was quite the refreshing and tasty beverage:
mmmm... science

Saturday, May 24, 2014

Broiled Broccolini


Broccolini is one of those weird hybrid vegetables that's a cross between broccoli and a chinese vegetable called kailaan. It may be an abuse of nature, but it's a delicious one. Summertime really isn't the ideal time to use your oven, but that's why this recipe is great because it only takes 10 minutes under the broiler, and you're done.

Ingredients

  • 1 bunch broccolini
  • extra virgin olive oil
  • salt, pepper, garlic powder to taste
  • juice of half a lemon (optional)
  1. Wash and dry the broccolini. If the bottom of the stems are rusty or discolored, trim them off, otherwise you can leave them be.
  2. Line a large sided baking sheet with foil and drizzle with a bit of olive oil. Line up the broccolini stems on the sheet (I tend to alternate the leafy side up vs down to make more room). (Pan should be broiler-safe.)
  3. Drizzle with more olive oil and season with salt, pepper, and garlic powder, to taste. If you appreciate a bit of lemon, you can also squeeze on the juice of half a lemon at this point. 
  4. Put the pan in the oven under a high broiler for 10-12 minutes. Until the tops are browned and slightly crispy. mmmm... crispy tops


Sunday, March 30, 2014

Cornish Game Hens (No Oil & No Sticking!)


Would you believe me if I said you could cook these little Cornish game hens (or even a full size chicken) directly on a pan with no added oil or butter? Why so skeptical? It's not like you have to rub them down with unicorn blood or anything. Even a novice chef can learn this secret (but simple) method for cooking poultry without added fat. I was first introduced to this method by Chef Paul and Chef Sui Lon of the Miette Culinary Studio in NYC during a team-building cooking class my office hosted. If I hadn't seen it with my own eyes, I might not have believed it either. I was determined to repeat the experiment in my own kitchen and voila - worked like a charm!

Now, I used my cast iron pan because I don't think it gets enough love, but at the cooking class we used a stainless steel roasting pan. Either would work fine. Keep reading to learn the secret!

Ingredients: 
  • 2 Cornish game hens
  • 4 cloves garlic
  • 4 sprigs rosemary
  • 4 sprigs sage
  • 8 sprigs thyme
  • 1/4 of a whole lemon (sliced lengthwise into two wedges)
  • salt
  • pepper
  • garlic powder
  • paprika
  1. Preheat oven to 375F. When it comes to temperature, place your empty cast iron skillet or stainless steel roasting pan on a middle rack and let heat for at least 20 minutes.
  2. Prepare your hens by removing any package of giblets from inside the cavity and patting them dry with paper towels.
  3. Split all the fresh herbs evenly in two piles and group together to form little bouquet garnis. No need to tie with string.
  4. Stuff the inner cavities of each hen with two garlic cloves, one small lemon wedge, and one of the herb bouquets. There should still be a little wiggle room inside so that the hen will cook completely through. If there isn't, your lemon might still be too big.
  5. Sprinkle the outside of the hens generously with salt, pepper, garlic powder, and paprika and rub the spices into the skin with your hands. The bird should be covered on all sides. Set aside on a plate (or this can be done the night before and stored in the fridge).
  6. AND NOW FOR THE BIG SECRET! When the pan in the oven has had at least 20 minutes to heat up, you're going to dry the crap out of the bottoms of each hen by wiping vigorously with paper towels. This is not the tentative patting of meat, this is a full on RUB DOWN. The bottoms of the hens must be COMPLETELY DRY or you risk them sticking to the pan. Rub those babies hard. Don't worry about rubbing off the seasoning, remember, this is just the bottom of the hen you're wiping. Once you are CERTAIN they are dry you're going to quickly remove the hot pan from the oven and place the hens inside (bottoms down, breast-side up). They should make a loud sizzling sound the minute they touch the hot pan. You may be tempted to lift them to see if they have stuck. Don't. Leave 'em alone and quickly get that pan back in the oven. This whole process should take less than 30 seconds from the moment the pan comes out of the oven.
  7. Let the hens roast in the oven for 45 minutes. If you're unsure if the hens are done, test the meaty part of the thigh with a meat thermometer to verify they've reached at least 165F. Or slice through the thigh and ensure the meat is cooked through and juices run clear. If you have a reliable oven, though, 45 min should be sufficient.
  8. Let the meat rest at least 10min before carving/serving. You can serve 1 whole hen per person, or take some sharp kitchen shears and cut clear through the back bones and breast bones to serve one half chicken per person (after removing the stuffing).
  9. Tip: If you want to cook a large amount of hens at once, follow the same method and still cook for 45 minutes. If you have more than one pan, though, rotate the pans (which is on top versus which is on bottom) every 15 minutes to ensure even cooking.
We fancy, huh!


This is all you need to stuff two hens. Remember to keep the lemon wedges small.
Hello ladies
Rub the crap outta them to get all the water off. If you think you are rubbing hard, rub harder.
QUICKLY get them into the hot pan...
...and back in the oven.
So... beautiful... should have sent a poet...


See - no sticking!
You can easily cut down the front and back of each hen to create
individual half-portions to serve laying on their side on the plate.

Or serve whole!


Tuesday, March 11, 2014

Paleo Snack Packs


Having healthy and readily available snacks for those impromptu cravings is the best way to avoid falling off the Paleo wagon. I put together these little Paleo snack packs on a Sunday that will last me the entire week. I make little containers of fruit/hard-boiled eggs for my breakfast at work, baggies of fresh raw veggies for a snack as well as baggies of raisins and nuts. It's such a simple thing, but it really does help - especially when you suddenly have a craving and want something immediately. It's such a relief to be able to just grab one of these baggies out of the pantry or fridge and go to town. These little snack-sized baggies are perfect for portion control so you don't eat an entire tub of raisins in one sitting. I am constantly changing up the food content of my snack packs so I don't get bored - feel free to try it for yourself and experiment with some of your favorite foods!

Breakfast Pack (examples)

Fruits
  • Cherries
  • Grapes


When spring and summer roll around, I LOVE getting farm fresh berries (strawberry, raspberry, blackberry, blueberry, etc) and mixing it up.

Eggs

My Egg Muffins travel really well and re-heat easily.

When I'm in the mood for hard-boiled eggs, I will typically boil an entire carton and store them in the fridge (labelled boldly, of course). Then I just take what I need each morning in a separate baggie or container. If you want to store your cooked eggs with raw ones, you can write directly on the shells of the eggs with a magic marker.


Veggie Pack (example)
  • Sugar Snap Peas
  • Grape Tomatoes
  • Sliced Bell Pepper


Dry Fruit and Nut Pack (example)
  • Raisins
  • Dry Roasted, Lightly Salted Cashews


They all fit perfectly in the meat drawer in the fridge.


What fun combinations can you come up with???