Showing posts with label Appetizers. Show all posts

Monday, January 11, 2016

Roasted Marrow Bones


If it seems crazy to you that we'd eat the marrow out of bones, let me remind you that this is about as primal and ancient a dish as it gets. Many animals, and our very own ancestral humans, crack open the bones of animals and suck out the delicate marrow. For primal hunters living off the land, the marrow served as an excellent source of nutrition - protein, healthy fats and fat-soluble vitamins, etc etc etc.

Now, I'm all for modernizing so I get my bones pre-cut from the grocery store and roast them prior to consumption. Your butcher can also be a good source for marrow bones - ask for beef, veal, lamb, etc. And the best part - they're super cheap!

If you've never had bone marrow you may be wondering how to eat it or serve it and you've got a few options. Note that the marrow is very rich with a high fat content so you likely would only eat 1-2 bones depending on their size. And here's how:
  1. Serve 1-2 marrow bones as a standalone appetizer. You can leave them plain or make an oil-based sauce as a topper (e.g. olive oil, parsley, and garlic or even an olive tapenade, etc).
  2. Serve 1-2 marrow bones on a bed of simple greens with a dressing of olive oil, lemon and salt.
  3. Scoop out the marrow and serve it rubbed over a steak (grill the steak first).
  4. Scoop out the marrow and serve it spread on Paleo crackers.
So many ideas! Now if you make these, save the bones in the freezer when you're done eating the marrow and you can use them to make a healthy and budget-friendly stock. Stay tuned for the bone broth recipe!

Ingredients
  • Marrow bones (I used beef)
  • Coconut oil
  • Salt and pepper
  1. Preheat the oven to 400F and line a roasting pan with foil
  2. Lightly coat the bottom of the pan (on the foil) with coconut oil so the bones won't stick to the foil
  3. Arrange your bones in the pan and sprinkle with salt and pepper
  4. Roast for about 15 minutes, until you see the marrow begin to bubble
There are special marrow spoons you can buy for eating it out of bones, but a seafood pick/fork, espresso spoon, or even chopstick would work fine. You can also go primal and suck it directly out of the bone when no one's looking. 

Enjoy!


Sunday, March 24, 2013

Red Pepper Spread (Trader Joe's Knock-off)


I used to love Trader Joe's Red Pepper Spread, but I had to stop eating it once I went Paleo because it is made with sugar. After walking through Trader Joe's one Saturday and once again walking past the jars of Red Pepper Spread, I finally decided it was time to make my own version. To my surprise, it tasted JUST LIKE THE ORIGINAL!
This is an incredibly versatile spread - perfect for smearing on Paleo crackers, using as a marinade for chicken, mixing into sauces, dressing burgers - so many uses!

Ingredients
  • 1 large eggplant
  • 2 red bell peppers, seeded
  • 3 garlic cloves, still in their skins
  • extra virgin olive oil
  • 1 tsp raw honey
  • salt and pepper to taste
  1. Preheat oven to 400F.
  2. Dice the eggplant and red peppers into 1 inch pieces.
  3. Spread eggplant and peppers onto a nonstick sided baking sheet or roasting pan and drizzle with olive oil. Place the garlic cloves in the pan and place the pan in the oven. Roast for 40 minutes, or until the the vegetables are browned and soft. You may have to toss them once or twice when they are roasting to promote even heat distribution.
  4. Place the roasted eggplant and peppers in a food processor. Push the garlic out of the skin and add to the food processor (discard the skins). Add the honey and process until smooth.
  5. Mix in salt and pepper to taste. You can eat this warm, or serve chilled.


Saturday, February 2, 2013

Pigskin Chicken

Want to wow your friends on Superbowl Sunday with an awesomely Paleo guilty pleasure? This Pigskin Chicken is a TOUCHDOWN!!!
Ok, cheesy football analogies aside, this chicken is for sure the shiz. I wish I could take credit for the idea of using crushed fried pork skins for the "breading", but that bout of genius struck Paleo Mom on the Run instead of I. She and I took slightly different approaches, though, in terms of ingredients and method.
Fried pork skins, or pork rinds, or whatever you call them are not something I recommend you eat everyday. Even though the only ingredients should be fried pork skin, obviously they are greasy and high in fat (albeit gluten free and DELICIOUS). But, definitely enjoy in moderation. Mmmm... moderation.
Ingredients
  • 1 package chicken tenders (about 10)
  • 3oz fried pork skins
  • 1 Tbsp dried rosemary
  • 1 tsp paprika
  • 1 tsp garlic powder
  • fresh ground black pepper
  • coconut or extra virgin olive oil (for greasing the pan)
  1. Preheat oven to 350F. Grease a large roasting pan, or a sided baking sheet with a light coating of oil.
  2. Open the top of the bag of pork skins to release the air and start crushing the skins to a sandy powder with your hands. Once it reaches the desired consistency, add the rosemary, paprika, and a bit of ground pepper to the bag. Why didn't I add salt? You'll get plenty of salt from those pork skins. Mix well.
  3. Bread each piece of chicken individually by dropping it into the bag and shaking it up (kind of like 'Shake and Bake'). Once throroughly coated, use a fork to fish it out and lay it in the pan.  (I left my chicken tenders whole, but if you wanted to serve a larger crowd as more of an appetizer or nibblin' you could snip them into bite-sized strips with some kitchen shears before breading.)
  4. Bake for 20 minutes, then crank the oven up to broil and broil for another 5 minutes or so until nice and crispy.
Mmmm... pork skins (after I crushed them
I combined both bags into one)

Hulk SMASH!
Spices!
Shake and BAKE!
Betcha no one can tell these are pork skins.

Crispy and Amazing

Thursday, July 12, 2012

Brussels Sprouts Chips

I made some roasted brussels sprouts the other night and a few outer leaves came loose while in the oven and got really crispy. And just as significant as the accidental discovery of penicillin - welcome brussels sprout chips to the world!

One of my favorite snacks are kale chips. I make the lemon kale chip recipe from Elana Amsterdam of www.elanaspantry.com. I figured brussels sprout chips could follow the same concept.

Ingredients
  • 1lb brussels sprouts
  • 2 Tbsp extra virgin olive oil
  • 1 Tbsp lemon juice
  • 1/4 tsp sea salt
  1. Preheat oven to 350F.
  2. Wash the brussels sprouts and remove any dingy, brown leaves. Use a sharp knife to trim the stem up to the base of the outermost leaves. Pull the leaves off and trim the stem down again to pull off another layer of leaves. Do this until you get down to the paler green wrinkled core. You can discard the cores or save them for use in other recipes.
  3. Place leaves in a large bowl.
  4. With hands or a wooden spoon, massage oil, lemon juice and salt into the leaves.
  5. Spread leaves on a parchment lined baking sheet.
  6. Bake at 350F for 10-15 minutes until leaves are browned and crispy (note they will shrink considerably).
bigger sprouts mean more leaves...

Make sure you trim the stem very close to the leaves because
any thick stem on the leaf will not get crispy when you roast it

The usable leaves from this sprout are on the left and
the pale green core and stem slices are on the right.


Now that's what I call shrinkage...

Monday, June 18, 2012

Tostones (Fried Plantains)


Tostones are fried green plantains which are very popular in Latin American households (and especially Puerto Rico). Unlike their yellow plantain cousins, they are not sweet. Tostones are so easy to make my husband actually prepares them all the time (and he's better at it than me). We like them to come out crispy and sprinkle them generously with salt. I usually burn my tongue because I am too impatient and want to eat them hot out of the pan. Tostones make a great side dish or snack but are also impressive served as an appetizer. I generally prepare 1 plaintain per person depending on the size of the group.

Ingredients:
  • 2-3 ripe green plantains
  • coconut oil
  • sea salt
  1. Remove the peel from the plantains. It's not like peeling a regular banana and will be quite difficult to remove that way. Start by cutting off both ends of the plantain. Using your knife, slice down the length of the plantain taking care not to go too deep into the meat of the fruit. Make another long incision about an inch or two parallel to the first. You should now be able to peel off that inch wide piece of peel. Once that is removed, you should be able to peel away the rest.
  2. Slice crosswise into 1" pieces.
  3. Heat a few tablespoons of coconut oil in a nonstick frying pan on medium-high heat.
  4. Fry the plantains a few minutes on each side until starting to brown.
  5. Remove the pieces from the heat and place on a piece of parchment paper. Cover with another piece of parchment paper. Find an object (I use a mustard jar) to smash the plantains down flat. You want to get them about a half inch thin otherwise they won't get crispy. Return the flattened plantains to the pan and fry again on either side until brown and crispy.
  6. Sprinkle very generously with salt and serve immediately.
[These would be delicious served with a garlic alioli sauce for dipping!]


Wednesday, May 2, 2012

Spanish Tortilla


When I was in college I was fortunate enough to study a semester abroad in Spain. I fell in love with the Spanish culture and indulged in many of their delicious tapas (small-portioned, appetizer-like dishes). My apartment building was also home to a bakery on the ground floor where I bought fresh Spanish tortilla and ate it every morning before classes. In Spain, a tortilla is a thick omelette usually consisting of potato and onion held together by egg, although other little goodies can be mixed in as well. It is usually cut into wedges and can be served hot or cold. I used to buy a whole round tortilla and store it in the fridge. I would cut myself a slice every morning and heat it in the oven.

Years later, I wound up dating my husband whose family is Spanish (lucky me!) and his awesome momma would make me my very own tortilla whenever we would come over. But since Paleo, I thought my tortilla-eating days were over. That was until I was trying to think of how to get rid of some leftover turnip in my vegetable drawer.

I usually substitute turnips for potatoes in recipes like beef stew where you can hardly tell the difference. Why couldn't it work in a tortilla? I called my mother-in-law to make sure I had the method down right and busted out my frying pan ready to give it a whirl.

Now, there's no exact recipe to throw one of these together and seeing as I had two mis-matched blocks of turnip left, it's hard to tell you exactly how much you need. It also depends on the size of your frying pan. Mine is huge - 12" - so my amounts are much larger than if you have an 8" or 9" frying pan. I'm going to put the recipe below for the 12-incher that I made, but I encourage you to eyeball how full your pan is and work from there. I also spiced mine up with some good-quality Spanish chorizo and green onions I was lucky enough to have laying in the fridge, but this would be just as good with plain turnip and onion.

Ingredients
  • 1/4 cup extra virgin olive oil
  • Diced yellow turnip, make the pieces about 1" long (roughly 5 cups to fill a 12" frying pan)
  • 1 large onion, chopped
  • 3 green onions, sliced
  • a few handfuls of diced Spanish chorizo
  • 9 large eggs, beaten with a few pinches of salt mixed in (you need enough to cover the vegetables completely)
  • salt and pepper, to taste
  1. Heat olive oil in a large frying pan over medium-high heat.
  2. Fry the turnips about 8-10 minutes until they begin to soften.Sprinkle with a few pinches of salt and fresh ground pepper.
  3. Add the onion and cook a few minutes more until the onions are translucent and the turnip will "smush" when pressed down with a wooden spoon.
  4. If your vegetables are still swimming in oil, drain them off to the side before returning to the pan with about a tablespoon's worth of oil. Stir in the green onions and chorizo and cook for another minute more.
  5.  Cover the entire mixture with enough beaten egg to surround the sides and reach the top of the vegetables. Shake the pan lightly to ensure it all combines. When the omelette begins to solidify, use a spatula to loosen the sides and as much of the bottom as possible without breaking it up. Don't allow the bottom to burn.
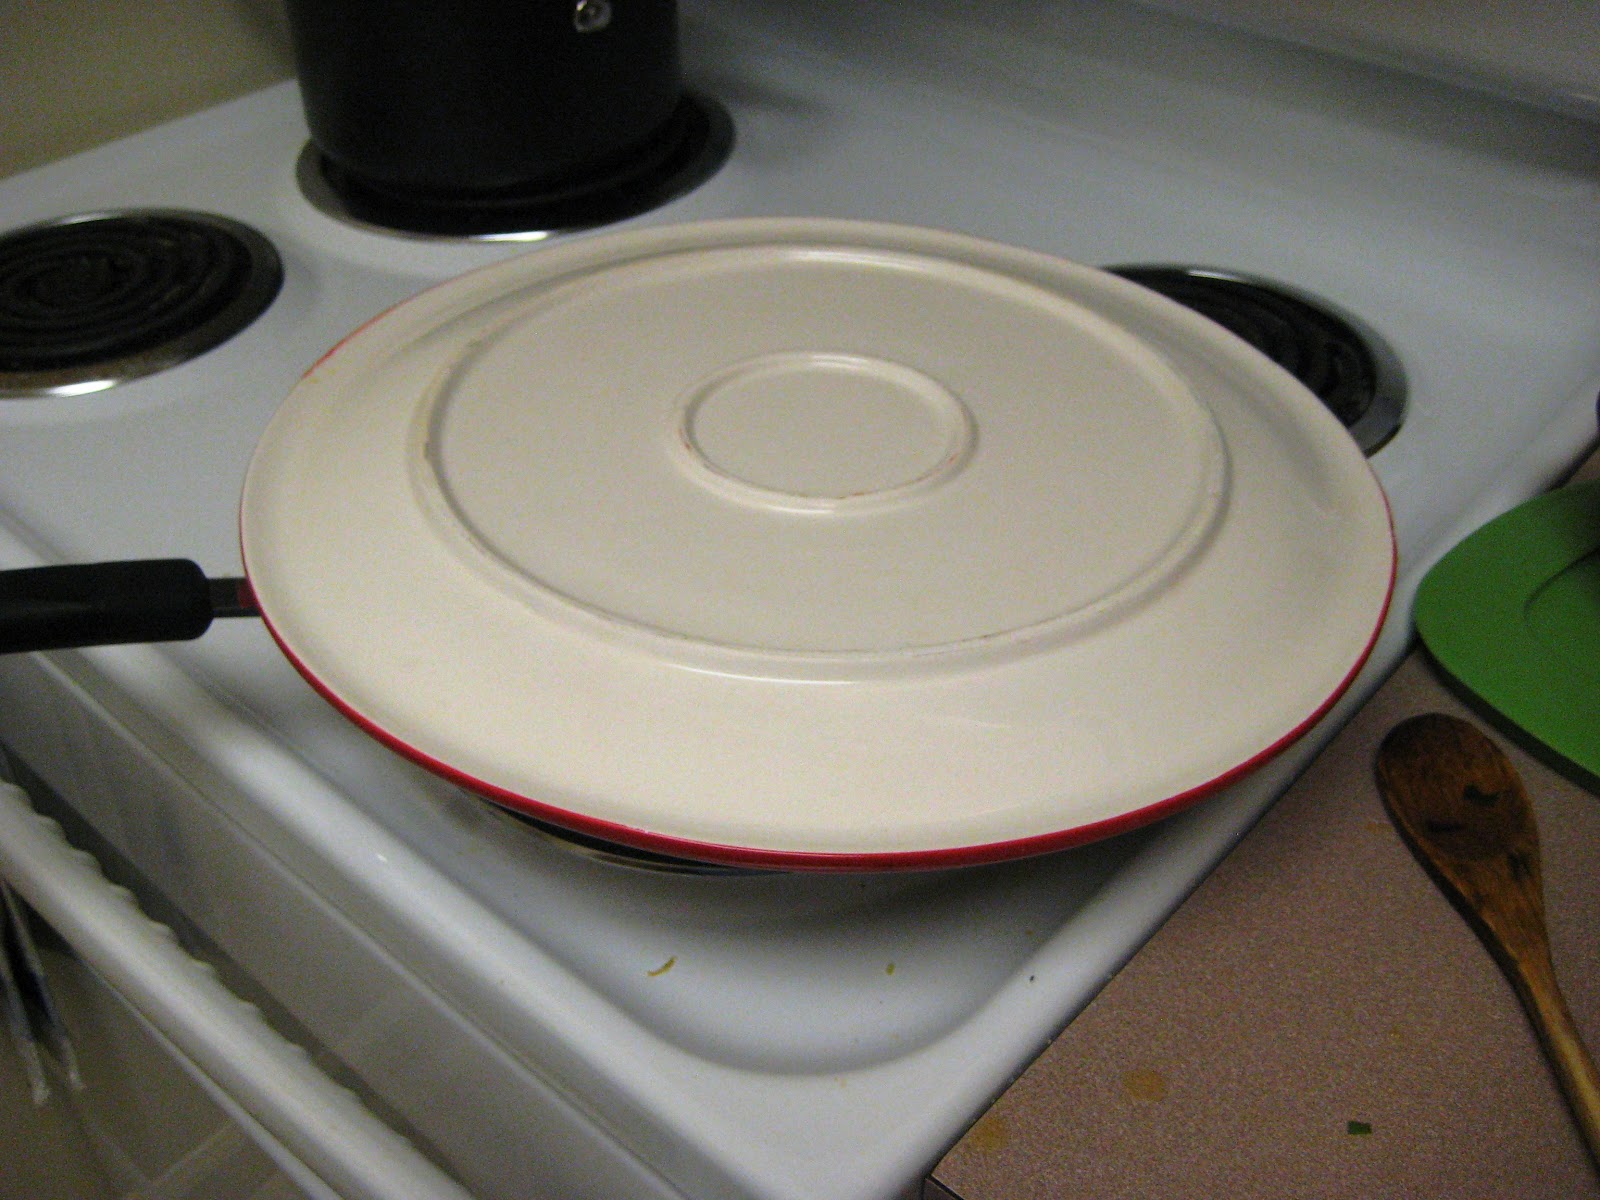
  6. When the egg has risen and is mostly cooked to the top, place a plate on top of the frying pan and turn the pan over to allow the tortilla to release onto the plate. Add a little more oil if needed and return the tortilla to the frying pan to brown the other side. When the other side is golden brown and cooked through, remove from the frying pan and allow to cool slightly before cutting. The tortilla can be eaten warm right away, or stored in the fridge for quite a few days and eaten cold or reheated. I recommend you sprinkle it with more salt, to taste, before serving.
¡Buen Provecho! 


because my frying pan is so large, I actually needed to use a platter to flip the tortilla

whoops, the bottom got a little browner than I wanted, but luckily it didn't taste burned
FIN!