Showing posts with label Snacks. Show all posts

Monday, January 11, 2016

Roasted Marrow Bones


If it seems crazy to you that we'd eat the marrow out of bones, let me remind you that this is about as primal and ancient a dish as it gets. Many animals, and our very own ancestral humans, crack open the bones of animals and suck out the delicate marrow. For primal hunters living off the land, the marrow served as an excellent source of nutrition - protein, healthy fats and fat-soluble vitamins, etc etc etc.

Now, I'm all for modernizing so I get my bones pre-cut from the grocery store and roast them prior to consumption. Your butcher can also be a good source for marrow bones - ask for beef, veal, lamb, etc. And the best part - they're super cheap!

If you've never had bone marrow you may be wondering how to eat it or serve it and you've got a few options. Note that the marrow is very rich with a high fat content so you likely would only eat 1-2 bones depending on their size. And here's how:
  1. Serve 1-2 marrow bones as a standalone appetizer. You can leave them plain or make an oil-based sauce as a topper (e.g. olive oil, parsley, and garlic or even an olive tapenade, etc).
  2. Serve 1-2 marrow bones on a bed of simple greens with a dressing of olive oil, lemon and salt.
  3. Scoop out the marrow and serve it rubbed over a steak (grill the steak first).
  4. Scoop out the marrow and serve it spread on Paleo crackers.
So many ideas! Now if you make these, save the bones in the freezer when you're done eating the marrow and you can use them to make a healthy and budget-friendly stock. Stay tuned for the bone broth recipe!

Ingredients
  • Marrow bones (I used beef)
  • Coconut oil
  • Salt and pepper
  1. Preheat the oven to 400F and line a roasting pan with foil
  2. Lightly coat the bottom of the pan (on the foil) with coconut oil so the bones won't stick to the foil
  3. Arrange your bones in the pan and sprinkle with salt and pepper
  4. Roast for about 15 minutes, until you see the marrow begin to bubble
There are special marrow spoons you can buy for eating it out of bones, but a seafood pick/fork, espresso spoon, or even chopstick would work fine. You can also go primal and suck it directly out of the bone when no one's looking. 

Enjoy!


Monday, July 20, 2015

Frozen Fruit Bars


The weather here has been what some of the more vulgar among us refer to as HOT AS BALLS! Making frozen treats is one of my favorite things to do to cool off and these Frozen Fruit Bars are no exception. This one is super-simple, incredibly healthy, and refreshing!

You can use any combination of fruits/juices but for this recipe I used strawberries, blueberries, and kiwis along with organic coconut water. Any fruits could work - peaches, bananas, pineapple, etc. Instead of coconut water, you could also use not-from-concentrate orange juice, pineapple juice, etc. (provided there is no added sweetener). You could even throw in some fresh herbs like mint. The possibilities are limitless!

The quantities will vary depending on how many bars you plan to make and how large the mold is. My mold has 6 slots. I bought 2 kiwis and 2 one pound clamshells each of strawberries and blueberries. I used both kiwis, but less than half the blueberries and strawberries.

Ingredients

  • Strawberries
  • Blueberries
  • Kiwis
  • Organic Coconut Water
  1. Wash the berries, peel and slice the kiwi and cut strawberries into slices.
  2. Drop the fruit into your popsicle mold and tamp it down lightly with a spoon or your fingers. (I like alternating the fruit to mix up the layers.) It's important that you leave at least a little bit of space between your fruit pieces so the coconut water can bond it all together, but not so much that your bar is all water and not much fruit. That's why I like blueberries, because they work well leaving teeny air pockets.
  3. Once your mold is filled, pour in the coconut water leaving a little space before you reach the top for overflow. 
  4. Insert your sticks to the mold and freeze. (I checked mine after about 7-8 hours and they were ready.)
Note: If you don't have a mold, you can freeze the fruit in dixie cups. Cover the top with foil and insert a wood craft stick prior to freezing.


Saturday, November 8, 2014

Hot Spiced Apples (In under 4 minutes!)


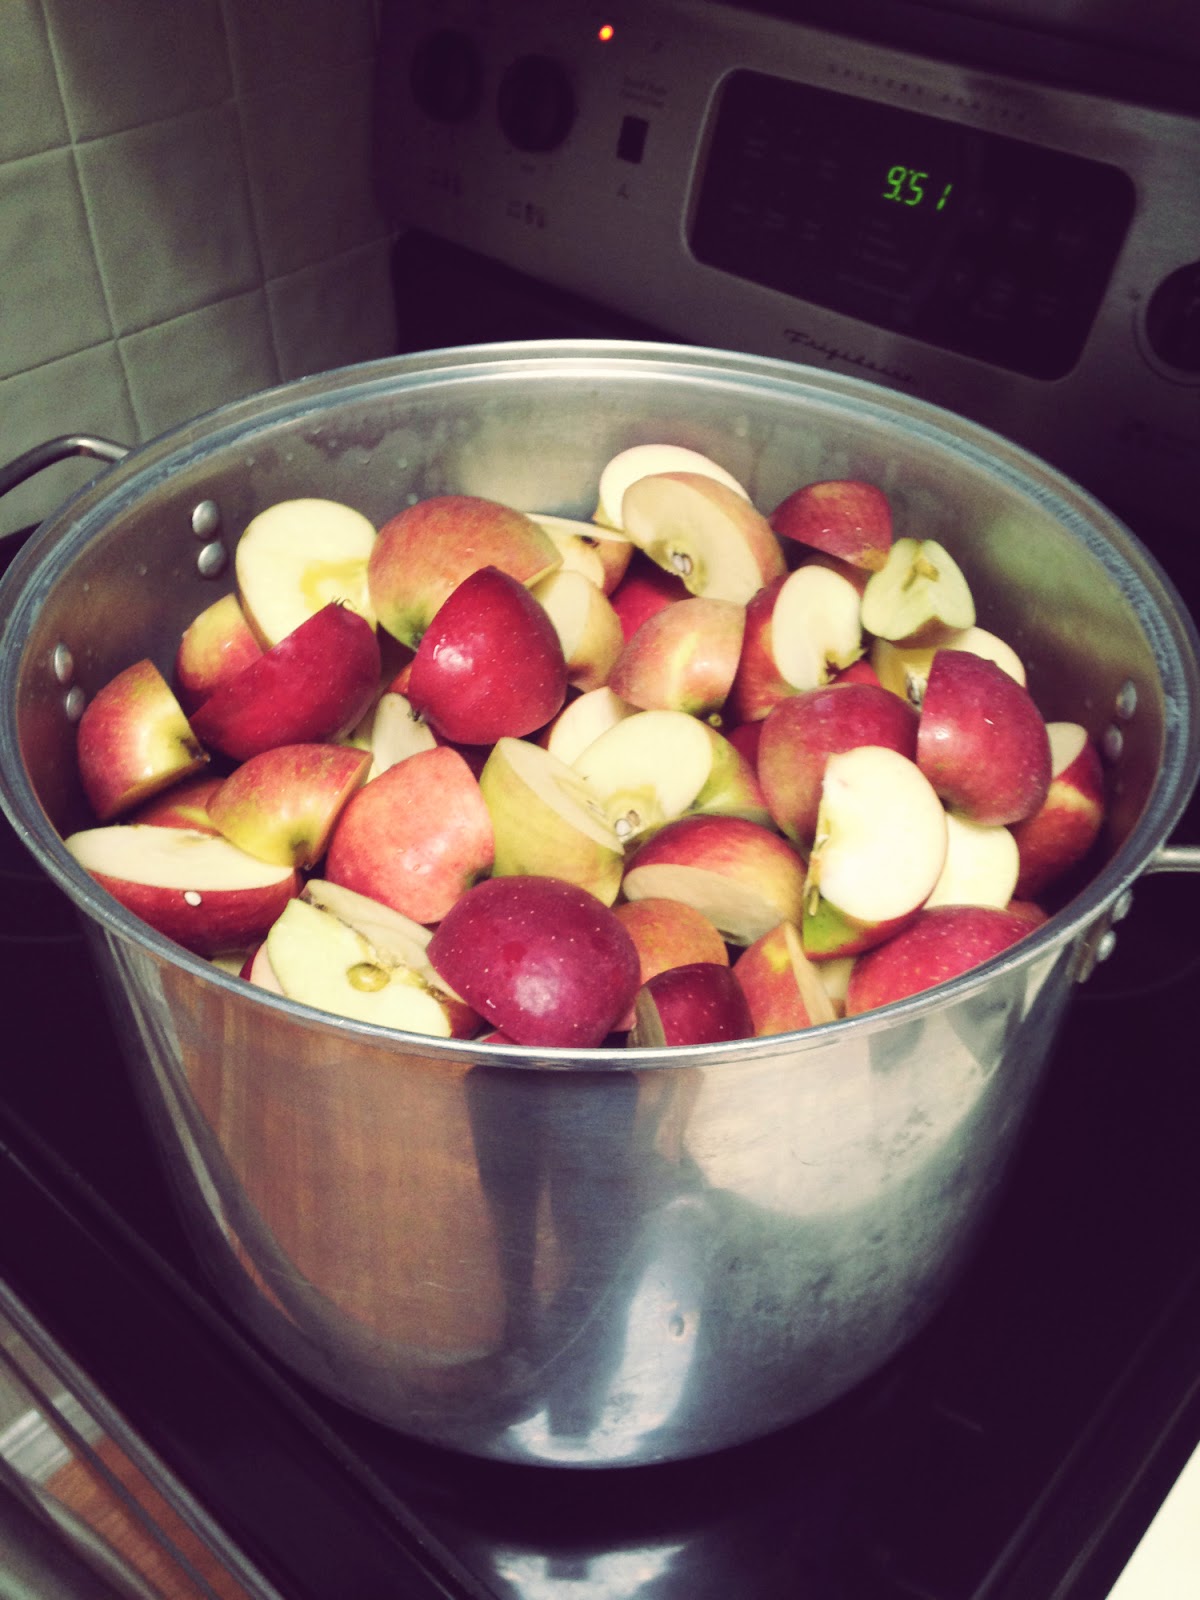
We went apple picking at the very end of the season and took home a pretty good haul of Fuji, Rome, Granny Smith, and Red Delicious apples.

The orchard was like a dream... an oil painting come to life.

But, as always, the dream ends and reality sets in that you have a full bushel of apples sitting on your table - and what the heck are you going to do with all of them?

Just like last year, I made a huge pot of homemade applesauce. (Yes, that's grammie's big saucepot from my last post about meatballs.)

And I may have another apple-based recipe in the works soon. :)  But this morning I had a craving for a sweet, hot treat. I love baked apples, but I'm not always in the mood to do the prep and wait for the oven. This recipe for hot spiced apples is a shortcut recipe for traditional baked apples.

Ingredients

  • 1 apple (any kind)
  • Trader Joe's Pumpkin Pie Spice (or any warm, earthy spice like cinnamon, cloves, nutmeg, ginger, cardamom, etc.)
  1. Place the apple in the center of a microwave-safe plate and cover with a damp paper towel.
  2. Microwave for 2 and a half minutes, up to three and a half minutes, until the apple is completely soft.
  3. Use a knife to cut through the waxy skin around the stem and slice across the apple from one side to the other to spread the skin open and expose the soft apple meat inside.
  4. Sprinkle your spice over the apple, to taste.
  5. Enjoy!


The apple will usually burst at some point while microwaving
and some juice will seep out. I use this slit as one of the incisions
to open the apple up.


Take care when serving to small children - the apple seeds
will still be in there.
I love the Trader Joe's Pumpkin Pie Spice. Lots of other
spice brands have their own version of this, but
you can also just use your own combo of
warm and earthy spices.