Showing posts with label Desserts. Show all posts

Monday, July 20, 2015

Frozen Fruit Bars


The weather here has been what some of the more vulgar among us refer to as HOT AS BALLS! Making frozen treats is one of my favorite things to do to cool off and these Frozen Fruit Bars are no exception. This one is super-simple, incredibly healthy, and refreshing!

You can use any combination of fruits/juices but for this recipe I used strawberries, blueberries, and kiwis along with organic coconut water. Any fruits could work - peaches, bananas, pineapple, etc. Instead of coconut water, you could also use not-from-concentrate orange juice, pineapple juice, etc. (provided there is no added sweetener). You could even throw in some fresh herbs like mint. The possibilities are limitless!

The quantities will vary depending on how many bars you plan to make and how large the mold is. My mold has 6 slots. I bought 2 kiwis and 2 one pound clamshells each of strawberries and blueberries. I used both kiwis, but less than half the blueberries and strawberries.

Ingredients

  • Strawberries
  • Blueberries
  • Kiwis
  • Organic Coconut Water
  1. Wash the berries, peel and slice the kiwi and cut strawberries into slices.
  2. Drop the fruit into your popsicle mold and tamp it down lightly with a spoon or your fingers. (I like alternating the fruit to mix up the layers.) It's important that you leave at least a little bit of space between your fruit pieces so the coconut water can bond it all together, but not so much that your bar is all water and not much fruit. That's why I like blueberries, because they work well leaving teeny air pockets.
  3. Once your mold is filled, pour in the coconut water leaving a little space before you reach the top for overflow. 
  4. Insert your sticks to the mold and freeze. (I checked mine after about 7-8 hours and they were ready.)
Note: If you don't have a mold, you can freeze the fruit in dixie cups. Cover the top with foil and insert a wood craft stick prior to freezing.


Saturday, November 8, 2014

Hot Spiced Apples (In under 4 minutes!)


We went apple picking at the very end of the season and took home a pretty good haul of Fuji, Rome, Granny Smith, and Red Delicious apples.

The orchard was like a dream... an oil painting come to life.

But, as always, the dream ends and reality sets in that you have a full bushel of apples sitting on your table - and what the heck are you going to do with all of them?

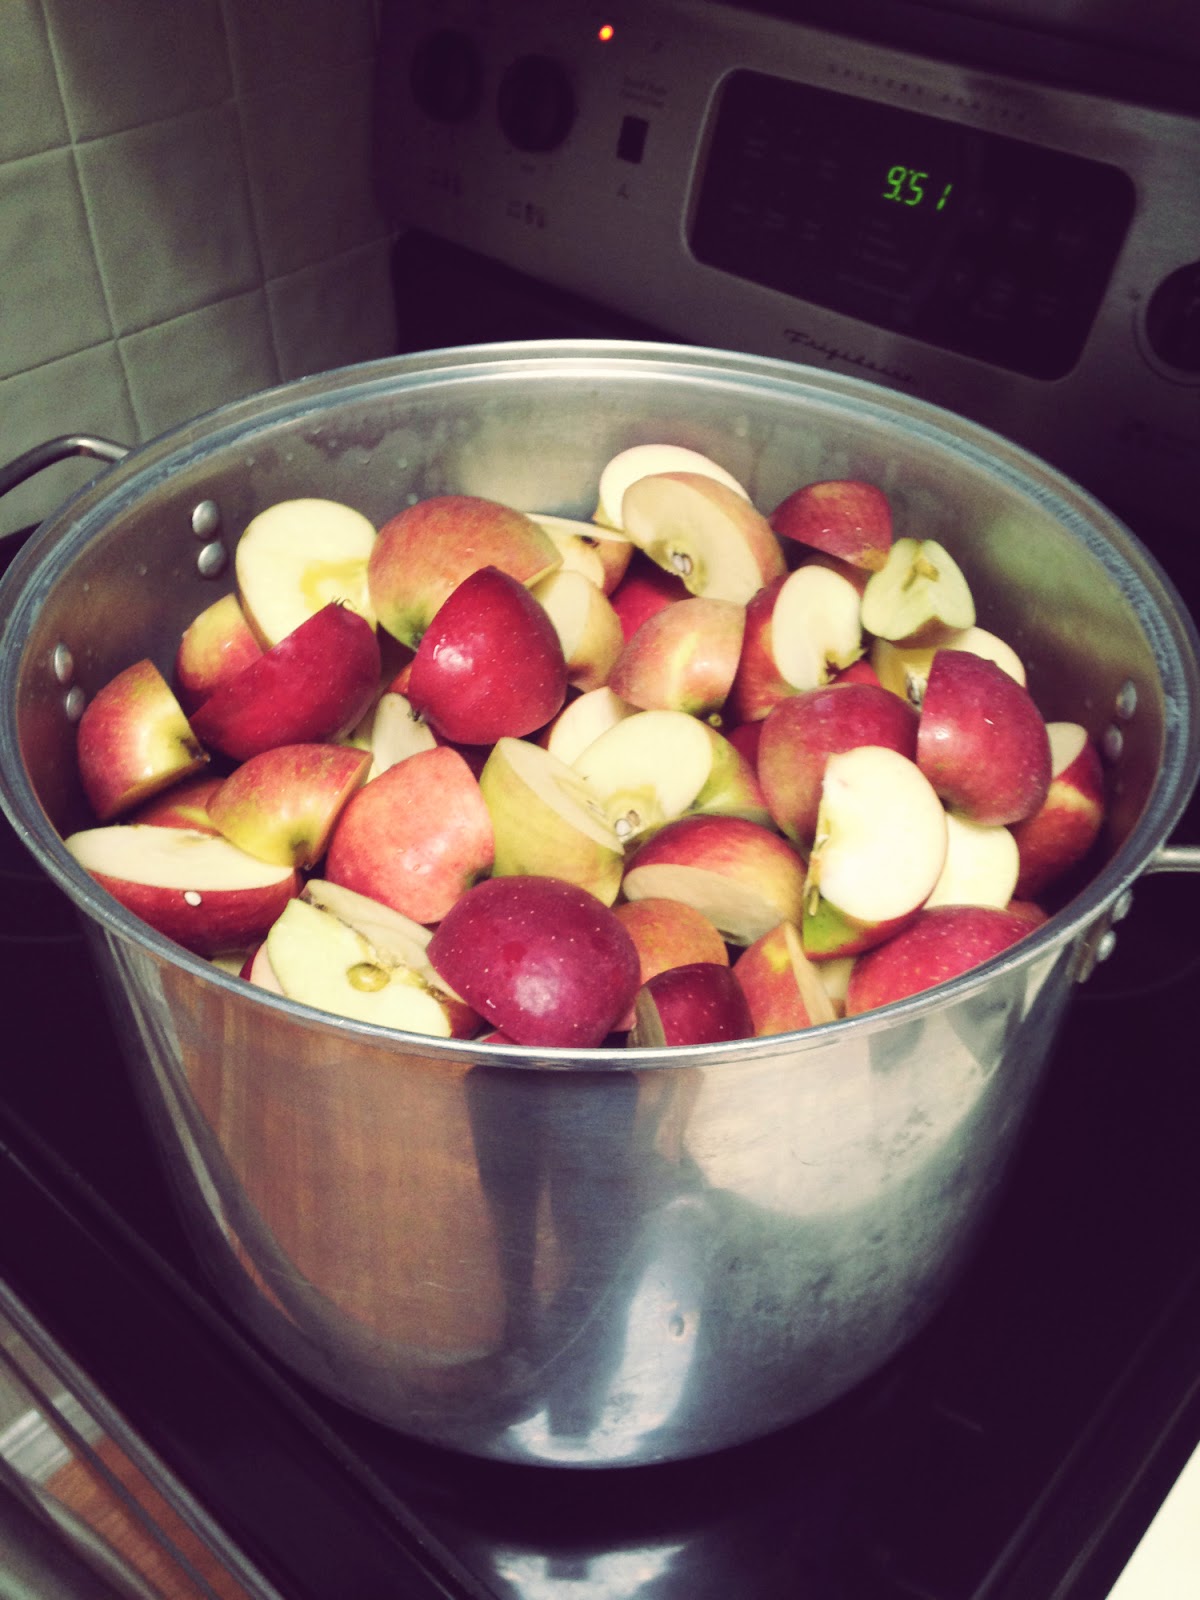
Just like last year, I made a huge pot of homemade applesauce. (Yes, that's grammie's big saucepot from my last post about meatballs.)

And I may have another apple-based recipe in the works soon. :)  But this morning I had a craving for a sweet, hot treat. I love baked apples, but I'm not always in the mood to do the prep and wait for the oven. This recipe for hot spiced apples is a shortcut recipe for traditional baked apples.

Ingredients

  • 1 apple (any kind)
  • Trader Joe's Pumpkin Pie Spice (or any warm, earthy spice like cinnamon, cloves, nutmeg, ginger, cardamom, etc.)
  1. Place the apple in the center of a microwave-safe plate and cover with a damp paper towel.
  2. Microwave for 2 and a half minutes, up to three and a half minutes, until the apple is completely soft.
  3. Use a knife to cut through the waxy skin around the stem and slice across the apple from one side to the other to spread the skin open and expose the soft apple meat inside.
  4. Sprinkle your spice over the apple, to taste.
  5. Enjoy!


The apple will usually burst at some point while microwaving
and some juice will seep out. I use this slit as one of the incisions
to open the apple up.


Take care when serving to small children - the apple seeds
will still be in there.
I love the Trader Joe's Pumpkin Pie Spice. Lots of other
spice brands have their own version of this, but
you can also just use your own combo of
warm and earthy spices.


Friday, July 4, 2014

Paleo Slushie


I've got to give credit for this recipe to "The King of Random" and his awesome YouTube channel that features cool science experiments and life hacks. I was able to use his experiment for the Self Freezing Soda with a nice tasty bottle of flavored sparkling water for a refreshing Paleo Slushie. Here is the video that inspired me:


Because every freezer is different, it took me a few tries to find just the right amount of time to keep my bottle in the freezer, so a little trial and error may be in order for you. But, it is totally possible to do this!

I grabbed a few bottles of sparkling water that were no sugar added (the only other ingredient is natural flavor) and shook them up vigorously:

Then I dropped it in the freezer and took about 2hrs 45min to get to the right temperature:

Then I carefully opened the cap to release the pressure, closed the cap tightly, and turned the bottle over a few times to begin the chain reaction of freezing:


The consistency wasn't 100% frozen and there was still a little liquid (and it melts quickly after pouring), but I found I liked the part watery, part icy consistency and thought this was quite the refreshing and tasty beverage:
mmmm... science

Saturday, June 22, 2013

Frozen Fudge Bars (Dairy Free)


Yesterday was the summer solstice and I am ready for some steady sunny days! I decided to whip up a batch of frozen fudge bars for what I hoped would be a nice warm weekend. This recipe is a knockoff of Popsicle®'s brand of Fudgsicles® that I used to enjoy when I was a child. Take a look at the ingredients/nutrition facts of Fudgsicles® that are supposedly "no sugar added".
Click to Enlarge


There are at least 25 ingredients on here, and I don't even know what most of them are. I don't really want to ingest microcrystalline cellulose, which is refined wood pulp. They use it as a texturizer, an anti-caking agent, a fat substitute, an emulsifier, an extender, and a bulking agent in food production. [source: wikipedia] So basically, they threw some extra junk in there to get away from giving us actual food.

 
My recipe has four simple ingredients. You will need an ice cream maker for this recipe, unless you want to make them similar to a Popsicle®'s consistency. To make the bar shape you can purchase a mold or use small disposable cups with wood craft sticks.


Ingredients
  • 2 cans full fat coconut milk (about 13.5oz each)
  • 1/2 cup raw honey
  • 2/3 cup unsweetened cocoa powder (check the label to make sure the only ingredient is cocoa!)
  • 1 pinch of salt
  1. In a large bowl, whisk together the coconut milk and honey.
  2. Gradually whisk in the 2/3 cup cocoa powder by dumping in a bit at a time. Cocoa likes to float along the surface of liquids rather than soak it up. Just keep whisking away, though, and eventually it will comply. It will take on the texture, look, and smell of melted ice cream.
  3. Add the pinch of salt and give it one last good whisking.
  4. Dump the mixture into your ice cream machine and process according to your machine's directions. This recipe fills my 2 qt ice cream maker and it takes me 30 minutes.
  5. When done, remove the ice cream to a separate large bowl to prevent it from freezing to the sides of the machine.
  6. With a small spoon, drop the ice cream into your mold. Ensure you tamp down each spoonful thoroughly to avoid air pockets or your bars may break when removing from the mold. Freeze any leftovers in an airtight container (place a layer of plastic wrap flush across the top to prevent frost) to be enjoyed as ice cream.
  7. Place the tops on the mold (or put your craft sticks centered in each cup about 3/4 to the bottom and cover with plastic wrap) and freeze for a minimum of 3 hours.
  8. When ready to enjoy you may have to use a little elbow grease to rock the bars back and forth to release from the mold. 
  9. Enjoy immediately as they will melt!
Note: My mold had 6 bars in it so I had some ice cream left over. I prefer to freeze this recipe into bars because if you have just a tub of ice cream, after you leave it in the freezer long enough it hardens up so much that you have to leave it sitting out to soften up just to eat it. This way it goes right from the freezer to my belly!

Your cocoa powder should only have 1 ingredient.

This does NOT want to be mixed.
 
Like melty ice cream.
 
whirrrrrrrr!

Spoon it in bit by bit. (If you spill any on top, just clean it off with a paper towel prior to putting in the freezer.
Tamp it down well with your spoon to avoid air bubbles.

Seal 'er up and freeze it!

Uh-oh! Didn't do a good job getting rid of that air!

Frozen Fudgy Perfection


Monday, August 20, 2012

Dairy Free Mint Chip Ice Cream


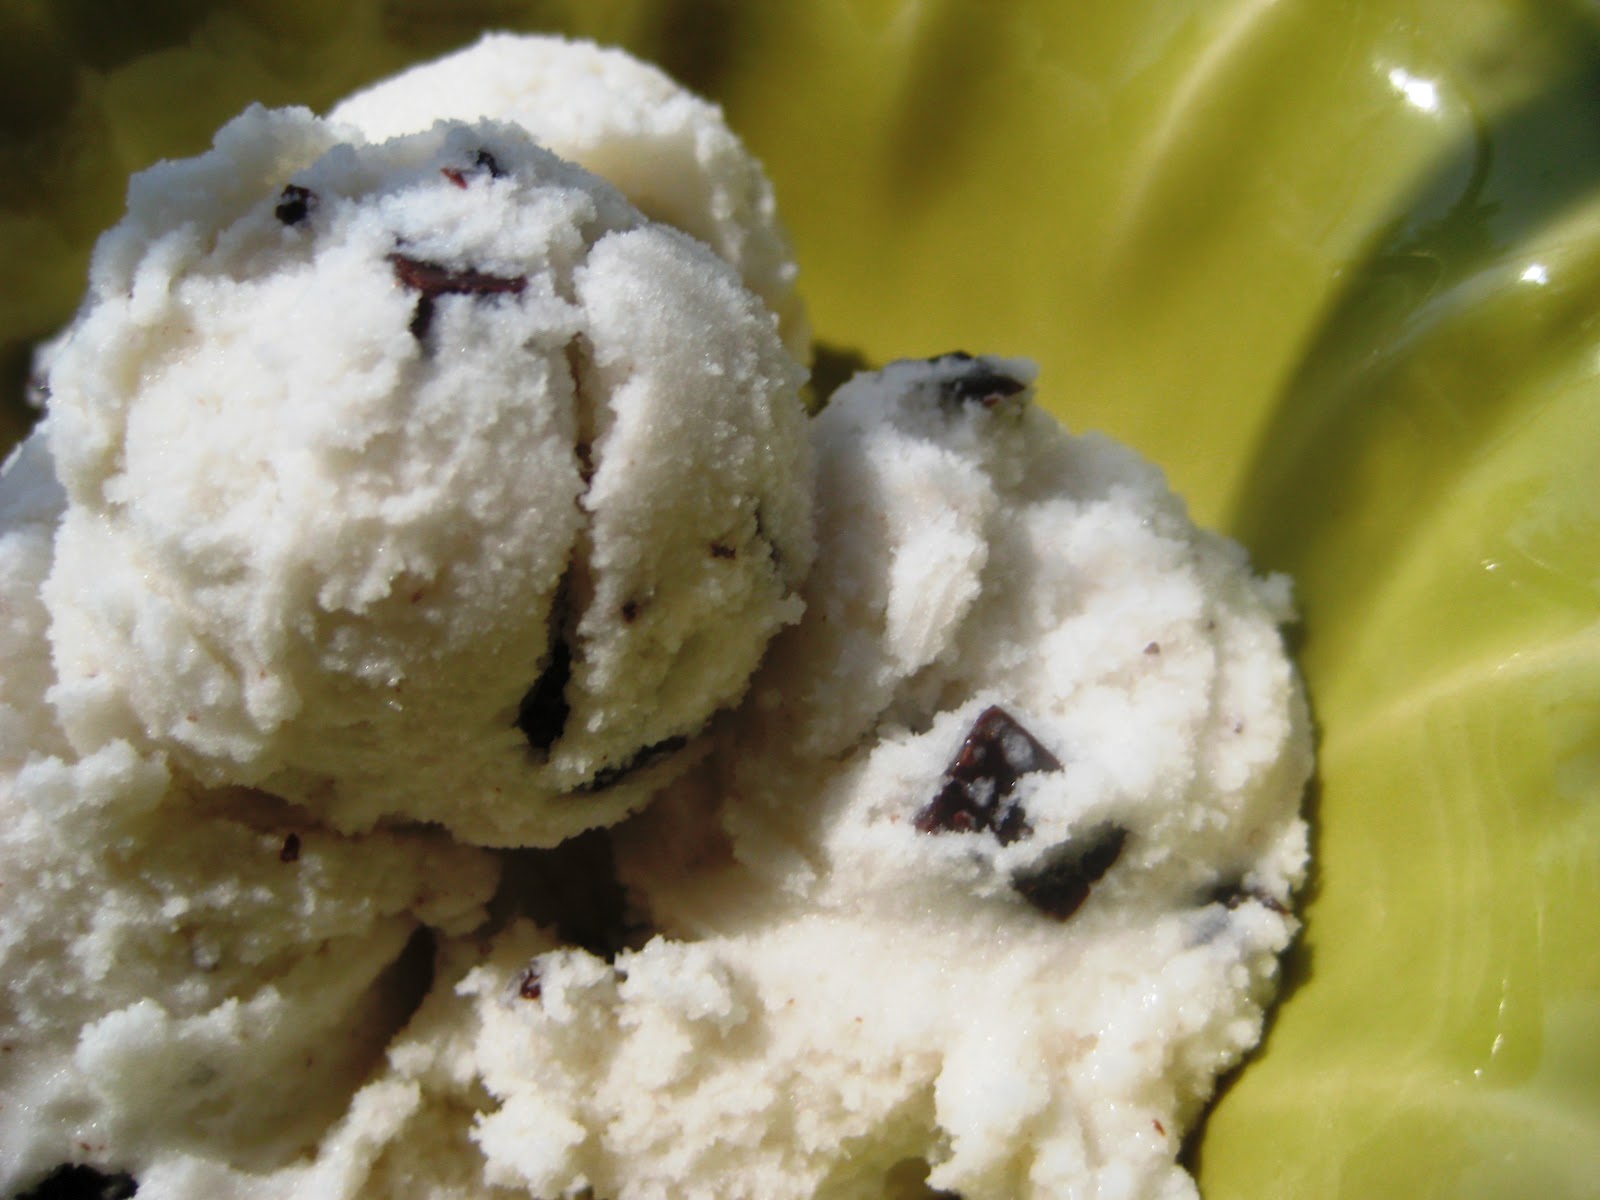
This summer has been disgustingly hot and humid. I finally tossed my ice cream maker bowl into the freezer intent on cooling off with some delicious home-made ice cream. In my pre-Paleo days, my all-time favorite ice cream used to be Haagen Dazs Mint Chip. I remember it was the first mint chip ice cream I had seen that wasn't artificially colored green like most other mint ice creams. I also remember that after I took the first bite I was ringed in a warm circle of light while a choir of angels started singing. Yes, it's THAT good. And this dairy-free version is pretty much the mirror image of the real thing so you are certainly in for a treat.

The only thing about making home made ice cream from coconut milk is that the consistency is a bit off. Fresh out of the ice cream maker will be VERY soft, although yes, ready to eat. I freeze mine for half a day at least before enjoying, so it will harden up and not turn to liquid the minute it hits your bowl. When eating the leftovers out of the freezer, I leave the container sitting out for 10 minutes or so before I start hacking into it so it can soften up a little.

This recipe is for a 2qt capacity ice cream maker. If you have a smaller machine, cut the recipe in half.

Ingredients
  • 2 (14oz) cans coconut milk (regular, not reduced fat)
  • 1/2 cup raw honey
  • 1 tsp pure vanilla extract
  • 2 tsp pure mint extract
  • 1 pinch sea salt
  • 1/2 cup chocolate chunks* (% cacao of your choosing)
  1. In a large bowl, whisk together the coconut milk, honey, vanilla, mint, and salt until combined. (If you have very solid honey, melt it a bit first in the microwave.)
  2. Dump the mixture into your ice cream machine and process according to your machine's directions. (I have the 2 qt Cuisinart ice cream maker and I process 30-35 minutes total.)
  3. Dump in the chocolate chunks while the machine is moving for the last 5-10 minutes of processing. (I dump mine in at the 25 minute mark.)
  4. Turn off your machine when the ice cream reaches your desired consistency. (The best you will get is like an icy soft-serve.)
  5. You can eat the ice cream right away - but I do mean RIGHT AWAY as it will immediately begin to melt the minute you scoop it into a bowl. Or - you can put it in an airtight freezer-safe container and let it harden up a bit. When storing in the freezer, place some plastic wrap flush against the top of your ice cream to prevent ice from forming before sealing the container. I let mine freeze at least half a day before enjoying.
*Note: You have several options when it comes to the chocolate chunks. I have bought good-quality 72% cacao dark chocolate and chopped it up into bits with a knife as you can see below. They also sell bittersweet chocolate chips (60% cacao) which can be chopped up into smaller bits. And if you want to be strict Paleo with this recipe, you can even purchase cocoa nibs (100% cacao bits). And if you're gross, you can use unsweetened baker's chocolate. But, ewwww.


About 5 squares of this chopped is 1/2 cup
I like having bits of varying sizes - some larger bits, some
very small, and I even scoop up all the little shavings left
on the cutting board.
Whisk together everything but the chocolate.
Dump the mixture into your ice cream maker.
Add the chocolate about 25 minutes into processing.
Look at them chips get in there.
Spatula Mickey says he also hears the angels singing.
(I recommend using a rubber spatula to scrape out
your bowl so you don't scratch it.)
Store in an airtight, freezer-safe container.
Place plastic wrap flush against the surface of the ice cream
to prevent ice from forming.
Enjoy on a nice hot day!

Sunday, May 13, 2012

Dairy-Free Berry Parfait

This recipe uses a sweet version of my almond cream cheese recipe in place of the usual whipped cream topping. While a very simple recipe, it looks oh-so-fancy served in a wine goblet or champagne flute. I served these as part of Mother's Day brunch and they were a huge hit!

Ingredients
  • 1 pint blueberries
  • 2 large handfuls of strawberries
  • 2 bunches of grapes
  • About a half pint of chilled sweet almond cream cheese (for a sweet version, add 1 Tbsp raw honey and a few drops of vanilla to the recipe when blending)
  1. Wash and dry all your berries. Hull and slice the strawberries; leave blueberries and grapes whole.
  2. Arrange a few handfuls of grapes and blueberries in the bottom of a large wine goblet. Top with sliced strawberries.
  3. Top your berries with a few dollops of sweet almond cream cheese. Take care not to use too much as it will overwhelm the fruit in the glass. About 2 heaping spoonfuls should be plenty. (The pictures here actually have a little too much cream cheese in them.)
Tips for variations:
  1. Add a paleo granola layer for a sweet crunch.
  2. Insert a few whole toasted pecans or almonds into your dollop of cream cheese.
  3. Change the container between a wine goblet, champagne flute, glass tumbler, small ramekin, ice cream sundae bowl, etc.
  4. Make one large parfait by layering all your fruit and cream cheese together in a large glass bowl.
  5. Switch up your fruit by adding in kiwi, raspberries, blackberries, etc.


Monday, April 16, 2012

Fruit Sorbet

Today I did some kitchen spring cleaning - primarily on the freezer - and had some frozen fruit to get rid of. For this sorbet, I used a bag of frozen mangoes, but really any frozen fruit can be subbed into this recipe for unlimited different flavors. You will need some kind of ice cream/frozen yogurt machine in addition to a blender or food processor. I have a 2 qt ice cream maker by Cuisinart (seen here). If yours is only 1.5 qt capacity, I recommend you reduce the amounts below by at least a third so it doesn't overflow.

Ingredients
  • 1 16oz bag of frozen fruit (I used mangoes this time, but have also done strawberries in the past)
  • 3 cups water
  • 1/3 cup agave nectar honey
  1. Pour all ingredients into a blender and blend until smooth.
  2. Pour mixture into ice cream maker and process according to machine directions (I usually do about 30 minutes) until sorbet reaches desired consistency.
  3. Sorbet is ready to eat right away, but store extra in an airtight container in the freezer. Put a layer of saran wrap over the layer of sorbet inside the container to prevent icing over.

  4. you can start with frozen fruit like this, or fresh

    slop it all together in the blender

    smooooooth

    this is how full the 2qt ice cream maker became

    the sorbet is done when it's nice and fluffy

    add a layer of saran wrap over leftovers to store
    in an airtight container in the freezer