Showing posts with label One Dish Meals. Show all posts

Sunday, November 8, 2015

Omelette Souffle


And we're back!!! After months of no kitchen, we are officially back in business. Living a paleo lifestyle means a lot of preparing your own meals, which means a lot of time in the kitchen. If you don't have a space you like to be in, it can make preparing food a chore rather than a pleasure. The new space is open, airy, updated in style, and exactly what we wanted! We couldn't be happier.

BEFORE
(yuck! see the broken cutlery drawer?)

AFTER
(yaaaaaaaaaay!)

I figured the first recipe that I'd share back is a new cooking method I learned from America's Test Kitchen. They have a cool video that shows a brief overview of the cooking method and final product if you want to follow the link.

This is actually inspired by a souffle, but not a souffle. When I think of a souffle, I think of the stereotypical chef cautiously watching an oven and ensuring not a sound is made that will damage the delicate dish, because even a loud noise will deflate this culinary masterpiece. Really, it's just a baked egg dish made with separated eggs that are whipped up and fluffy. The texture of this omelette is what makes it unique as it will be light and airy inside.

Those of you transitioning into Paleo are probably eating a ton of eggs for breakfast for lack of any other ideas. (I know, we've all been there.) This omelette is certainly not the easiest way to make an omelette, but it's unique enough to give you a break from the regular rigmarole and also impressive if you're hosting a brunch for guests.

I made my omelette with mushrooms and shallots flavored with lemon and thyme, but don't be afraid to switch it up a bit once you feel confident in the method.

Ingredients

  • Extra virgin olive oil
  • 1 shallot, thinly sliced
  • 4-6 oz chopped mushrooms (I used a mixture of baby bella, shiitake, and oyster - but you pick!)
  • Salt and pepper
  • 1-2 tsp lemon juice (depending on how much you like the taste of lemon)
  • Fresh thyme (a few sprigs) - or dried if need be
  • 4 eggs, separated
  • Clarified butter (or grapeseed oil if you don't do butter)

  1. Preheat oven to 375F
  2. Prepare your vegetables by slicing your shallot thin and cleaning and chopping your mushrooms
  3. Heat a large oven-safe skillet over medium-high heat and add about a teaspoon of olive oil
  4. Saute the shallots once the pan is hot until they are turning translucent, then add the mushrooms and a pinch of salt and pepper
  5. Saute the 'shrooms until browned and then add in the lemon juice and thyme; stir to combine
  6. Remove the mixture from the pan to a bowl off to the side. Wipe out the pan with a paper towel and prepare for the next phase.
  7. Separate your eggs - meaning the yolks from the white. Put the whites in a clean large mixing bowl and the yolks in a smaller bowl. If you don't feel confident in this, try to separate each egg individually over another bowl, that way if a yolk accidentally breaks and falls in, you won't ruin all the work you've already done. You can't have any yolk in your egg whites or you'll have to start over.
    • Here's a video tutorial by Lindsay Ann Bakes for 3 methods for separating eggs if you're unsure how to do this.
  8. To your bowl of yolks, add 1 tsp salt and about 1 Tbsp melted clarified butter (or grapeseed oil) and beat with a fork until mixed well.
  9. Whip the egg whites until stiff peaks just begin to form. Now for you novice chefs out there, this may be your first time working with whipped egg whites, but don't fear! It's easier than you think. 
    • You'll need to ensure everything touching your egg whites (bowl, beaters or whisk) are completely clean and that no egg yolk gets into them before we're ready to combine. 
    • Make sure you've got them in a large bowl, because essentially you're whipping in a bunch of air that's going to cause your whites to puff up over 200% of what they are now.
    • We're going to whip to "stiff peaks" (get your minds out of the gutter). Then you're going to "fold in" your yolk mixture. 
    • If you're new to whipping and folding, check out this video by Culinary Institute of America that shows you how to do both. It's worth a watch.
    • Note, I used an electric hand mixer; I'm not trying to be a hero.
    • Some people like to mix in a bit of cream of tartar to help their whites hold the shape, but I never keep this in my kitchen and still get it to work.
  10. Once your whites are just beginning to form stiff peaks, fold in your egg yolk mixture. Do this very gently and just enough until the colors completely combine. If you over-mix, all the air will come out of your egg whites and the mixture will begin to get liquidy. If this starts to happen, just stop mixing and hope for the best while baking. Or start over with your eggs if it means that much to you to get it perfect.
  11. Melt 1 Tbsp clarified butter (or grapeseed oil) in a skillet on medium heat and rotate your pan to ensure the melted butter coats the surface well to prevent your omelette from sticking. 
  12. Spread the egg mixture evenly into the pan with a spatula and turn off the heat. 
  13. Spread your mushroom mixture along the top of the eggs and pat in lightly.
  14. Bake for 5-10 minutes until the center of the omelette springs back when pressed lightly. If you feel the omelette squishing, like some of the air pockets inside are popping, then it needs more time to bake.
  15. Slide the omelette carefully out of the pan and let rest for 30 seconds before portioning and cutting.


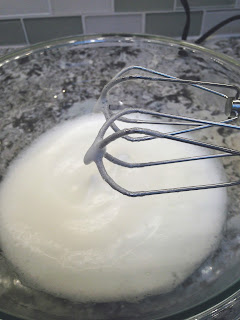
I start whipping at a lower speed until the whites become "frothy".
See how they are bubbling and getting shiny and white?

After getting frothy, I up the mixing speed to high and whip until stiff
peaks form. You can see those peaks hanging off the edge of the beater.
See how much the mixture grew in size!

Don't forget to beat the salt and butter into the yolks before
you mix them in with your puffy whites.

Don't over-mix or your eggs will turn to liquid.
Use the folding method with delicate ingredients.

Boom. Still fluffy.


See the fluffy texture? Success!


Saturday, May 16, 2015

Shrimp Scampi


This is a great meal that's perfect for summer when we have to be wary of heating up the house with the oven. And shrimp cooks so quickly that this whole meal can be on the table in no time - with only one pan to clean!!!

Ingredients
  • 2 tablespoon almond flour or almond meal (if you have some Italian Seasoned "Bread" Crumbs pre-pared - use those!)
  • 1 teaspoon extra virgin olive oil + 1 Tbsp + 1 Tbsp
  • 1 Tbsp clarified butter (if you don't use butter, substitute with more olive oil or grapeseed oil)
  • 1 lb large shrimp (cleaned, peeled and de-veined)
  • 2 Tbsp clarified butter (or olive oil for dairy-free)
  • kosher salt and fresh ground black pepper
  • 4 cloves garlic, slivered
  • 1 lemon; juiced
  • 2 tsp finely chopped fresh parsley
  • 2 10oz bags baby spinach
  1. Heat your almond flour in a large non-stick frying pan on medium high heat and drizzle with the 1 tsp of olive oil. The goal is to toast the almond flour into browned crumbs. The oil will help them stick together a bit. Remove from the heat when done and place in a small bowl off to the side.
  2. Place your frying pan back on the stove on medium high heat and add your 1 Tbsp of oil and 1 Tbsp of butter (or more oil). When the pan is warm enough, add in your garlic slivers and saute for 30 seconds or until fragrant. Don't brown your garlic just yet because it still has longer to go in the pan.
  3. Add the shrimp to your pan (make sure you dried them as best you can before tossing them in) and saute until just cooked through. Stir periodically to ensure even cooking. They'll take on a light pink color when done. You know you overcooked your shrimp if they curl into a super tight ring. No bueno.
  4. Sprinkle with salt and pepper to taste, and add the parsley and lemon juice to the pan. Stir well before removing the shrimp from the heat to a bowl off to the side.
  5. Return your pan to the heat and add the remaining 1 Tbsp oil. Add your spinach to the pan and saute a few minutes until just wilted. Stir occasionally to ensure the leaves on top cook evenly with the leaves on the bottom. When done, drain excess liquid from the pan.
  6. Plate by layering a helping of spinach and arrange your shrimp on top. You can spoon on some of the butter/oil/lemon juices from the shrimp bowl and then sprinkle with the toasted almond flour crumbs.
Toasting that almond flour into crumbs

Nothing like fresh ingredients!

About 30 seconds on the garlic is all you need.
If you fry your garlic for too long, it will get a burnt metallic taste.

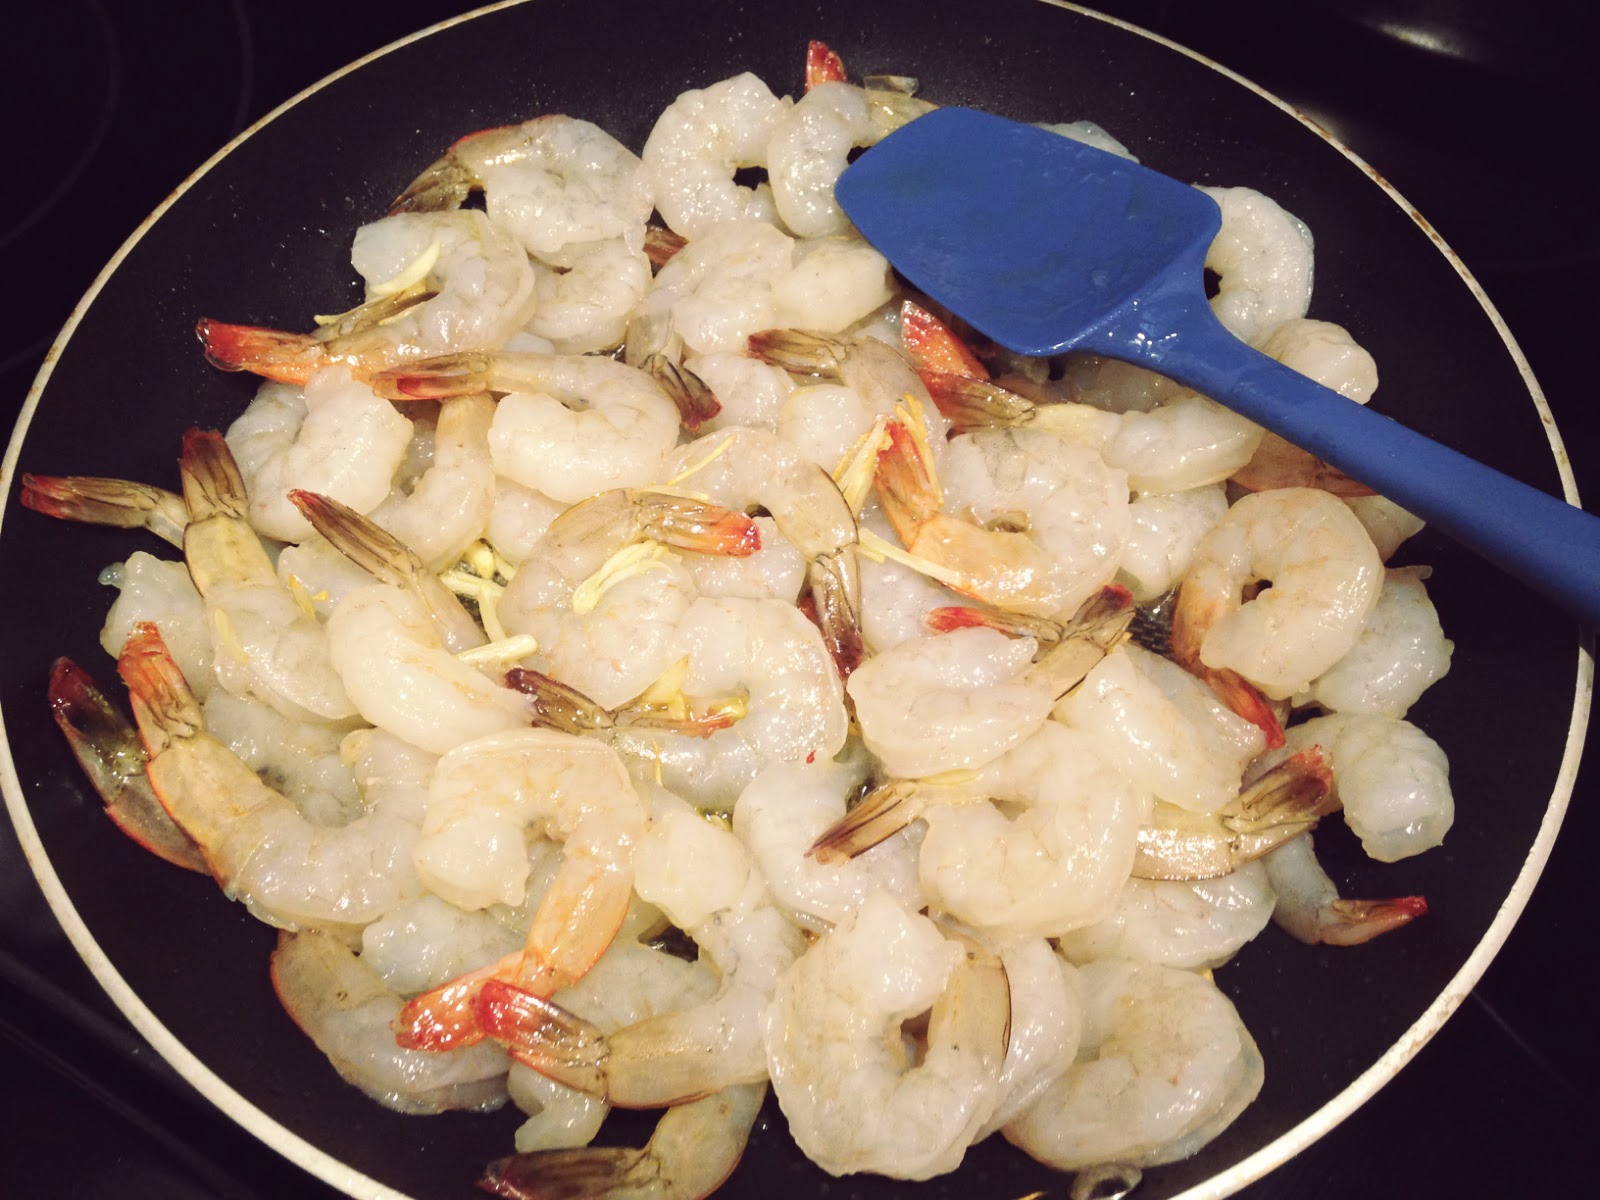
Toss in them scrimps!

Careful not to overcook your shrimp or they'll become tough and chewy!


You may be questioning why so much spinach, well...

...spinach sure does shrink!

Plate by layering in a helping of spinach and arranging your shrimp on top;
sprinkle with your toasted almond flour crumbs and serve!

Yum!

Tuesday, December 11, 2012

Chicken and Bits Soup


Sorry it's been a while since I posted. Things got pretty busy around here after the storm. I also lost the memory card to my camera which had hundreds of food pictures on it, so I have to re-make those recipes in order to get the photos. Boooooo.
 
As we get deeper into winter, I find myself gravitating more towards some nice warm soups. I re-worked my classic chicken soup recipe into what you see here. This soup is quickly becoming a favorite of mine. It has pretty much the same ingredients, but the main difference is the texture.
 
Whereas the classic chicken soup has large chunks of veggies giving it a rustico feel, all the veggies in this version are finely diced. (Hence the name - Chicken and Bits!) When I took that knife skills class a few months ago, the chef instructor talked a bit about texture and how it can affect the overall experience of food. So one night while making chicken soup, I got carried away with the knife and wound up dicing everything up tiny. By merely changing the texture of the soup, I experienced this recipe a whole new way. (Needless to say all that dicing took a while, so the second time around I used the food processor to cut down on some of the prep.)
 
Ingredients:
  • 8 - 10 cups chicken stock
  • 6 - 8 boneless, skinless chicken thighs
  • 1 large onion, finely diced
  • 3 sundried tomatoes, finely diced
  • 4 carrots, minced
  • 4 sticks celery, minced
  • salt and freshly ground pepper
  • 1 tsp dried thyme
  • 1 tsp dried rosemary
  • a few large handfulls of spinach, minced 
  1.  In a large stockpot, combine chicken stock, chicken thighs, diced onion, and diced sundried tomato. Season the soup generously with salt and pepper, to taste. Bring to a boil, then lower the heat and simmer until the onions are translucent and the chicken is cooked through. 
  2. Prepare the carrots and celery by pulsing in the food processor until minced. You can also put the spinach in the food processor, or mince it manually with a knife, but keep it separate as you won't add the spinach until the end.
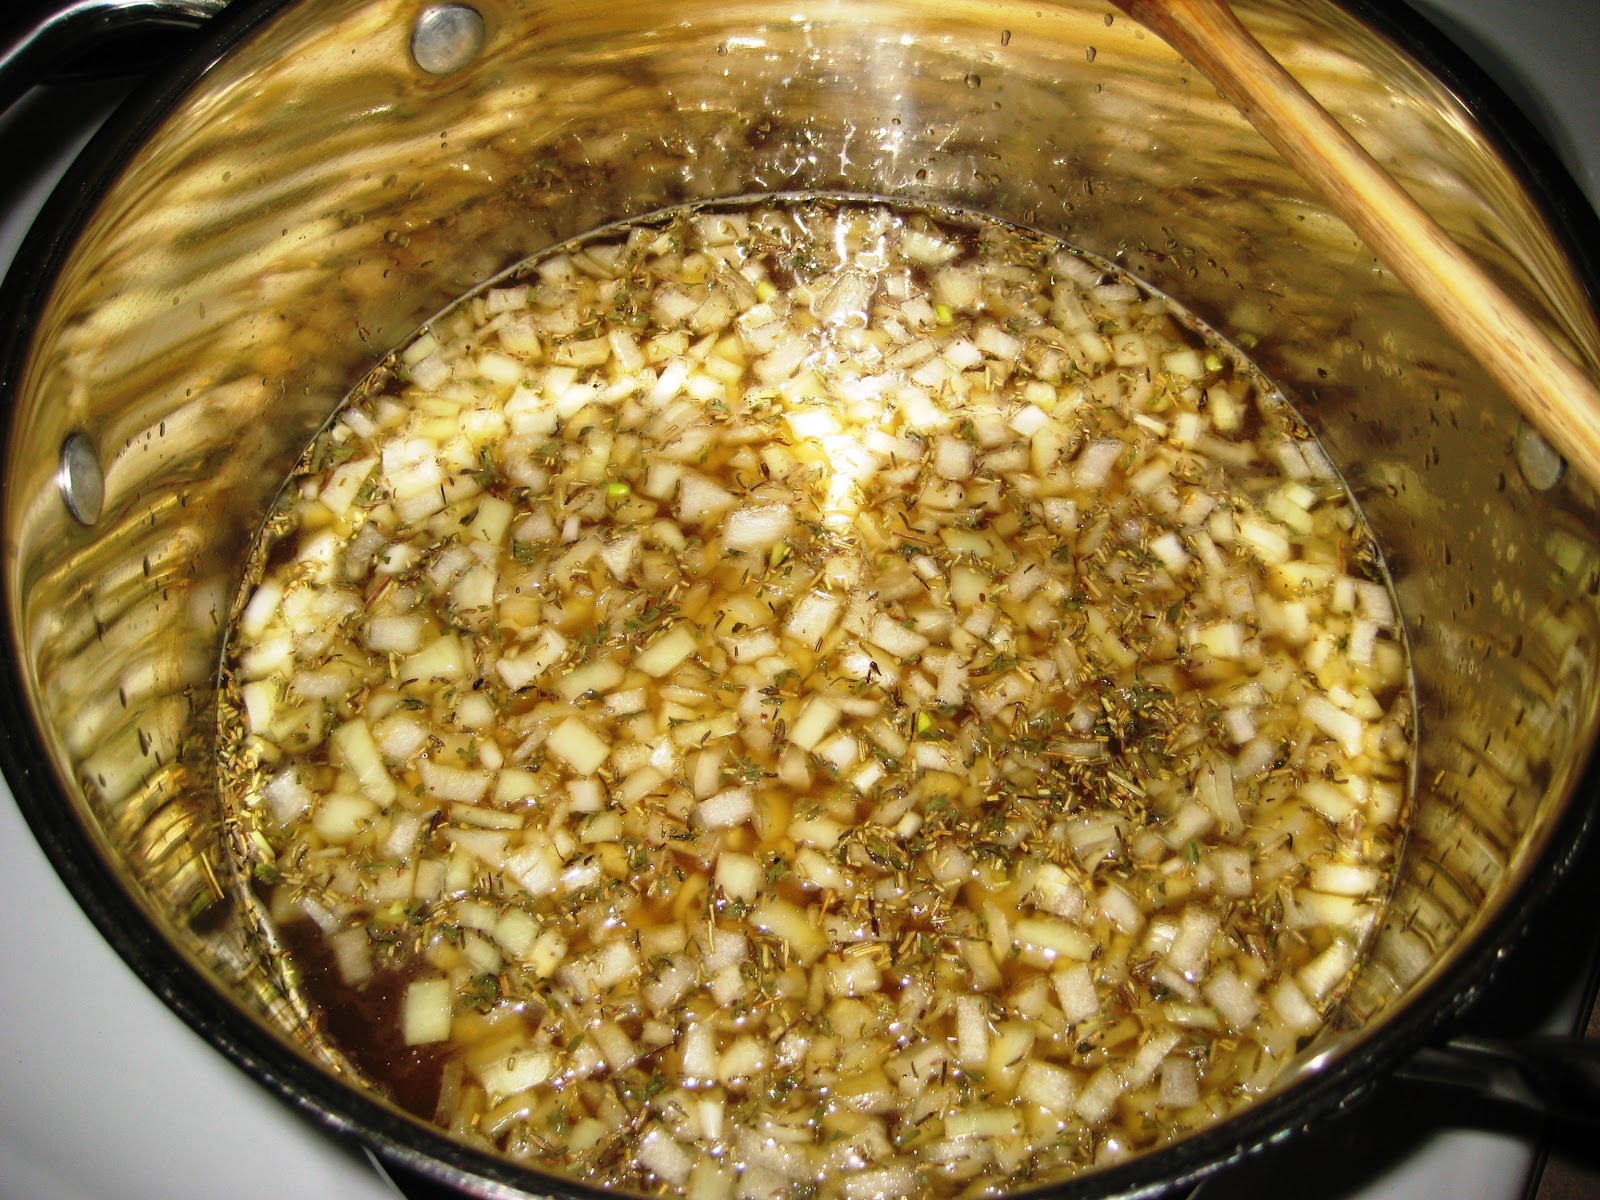
  3. Add in the carrots, celery, thyme and rosemary (NOT THE SPINACH). Let simmer until the veggies are soft. At this point, the soup will look pretty liquidy and devoid of "stuff". You may panic and want to add more vegetables, but fear not. Once you get to the end it will be thick and hearty, I promise!
  4. Remove the chicken thighs to a plate and shred with a knife and fork. Return the shredded chicken to the pot and add in the minced spinach. Let cook another minute or so until the spinach is wilted.
Tips for Variations:
  1. If you do dairy, sprinkle a little grated parmesan cheese in the soup when serving.
  2. Introduce other veggies like zucchini (diced up, of course), or switch out the spinach with escarole.
  3. Stir in a little cauliflower rice for even more hearty texture.


I used my knife skillz to dice the onion,
but this can go in the food processor, too.

Food processor... such a time saver!


Looking a little thin at this point, but it will be awesome.

The chicken should be tender enough to pull apart with
a fork and butter knife - or even your hands.

Still looks kind of thin without the spinach in there...

Then... BOOM!
Once the spinach goes in, the soup immediately thickens up.

mmmm... bits


Friday, November 16, 2012

Sausage and Peppers


Making your own sausage meat is actually really easy. Putting it in a casing may require some special equipment, but who says sausage always has to be in a casing? I checked the ingredients on a package of sausages in the meat department of my local grocery store and guess what was on there, in addition to a host of nitrates? CORN SYRUP! Ick! Whyyyyyyyyyyyyyy!????

Now, there are some organic brands you could buy which don't contain any of those yucky additives, but they're usually more expensive, and unfortunately my grocery store doesn't carry them. Buy why bother when you can make your own with some ground pork and a few spices?!?!

You may remember my recipe test of Melissa Joulwan's Italian Sausage Eggplant Strata last year. I like making her Italian Sausage Seasoning Mix and keeping it on hand for times such as these. It turns plain ground pork into sausage in a snap!

This spice mix is more than you will need for the sausage and peppers recipe so save the extra in a small airtight container or empty spice bottle.

Italian Sausage Seasoning Mix
  • 4 tsp dried parsley
  • 1 Tbsp dried Italian herbs
  • 2 tsp ground black pepper
  • 2 tsp garlic powder
  • 2 tsp paprika
  • 4 tsp salt
  • 1 tsp crushed red pepper flakes
  • 1 1/2 tsp fennel seed (optional) - you should use this if you have it, though, it really gives the meat that sausagey taste
In a medium bowl, crush the dried parsley and Italian herbs with your fingers or a fork to release their flavor. Add the black pepper, garlic powder, paprika, salt, red pepper flakes, and fennel seed. Mix with a fork.

Sausage and Peppers
  • 2 lb ground pork
  • 3 Tbsp Italian Sausage Seasoning Mix
  • 4 bell peppers (mix of sweet red/yellow/orange and green), cut into chunks
  • 2 medium onions, cut into 1" pieces
  • Sea Salt
  1. With your hands, mix the Italian Sausage Seasoning into the ground pork, then crumble the pork into a large saute pan and brown the meat on the stove over medium-high heat. Remove the meat to a plate or bowl with a slotted spoon (leave the juices in the pan).
  2. Over medium-high heat, saute the peppers and onions in the same pan using the fats from the ground pork as your "oil". Season generously with salt.
  3. When the onions and peppers are tender, add the meat back to the pan and mix well. Cook another minute or so until well-combined.


mmmm... spices

amazing that a few spoons of this will turn ground pork into sausage

This is the leftover...


Boom. Sausage.


Sunday, October 28, 2012

Recipe Test - Comfort Noodles (with Shrimp)


My good friend pointed me to this recipe on Melissa Joulwan's recipe blog theclothesmakethegirl.com. She also recommended we add in some shrimp which is exactly what we did. This recipe is perfection, and suprisingly, the best part of it wound up being the scrambled eggs. Weird, I know. So the only change we made was to add in shrimp and scallions, and double to triple the whole thing to feed both of us for dinner with leftovers (as Melissa just whipped this up quick for herself only).

There's really no need to say any more. Just make it. It's awesome.

Ingredients:
  • 4 - 6 zucchini, julienned (we used summer squash as the yellow makes your brain think it looks like real pasta)
  • generous 3/4 - 1 teaspoon salt
  • 2 tablespoon almond flour or almond meal
  • 1 teaspoon coconut oil
  • 2-3 tablespoon extra-virgin olive oil
  • 3 cloves garlic, crushed
  • 1 bunch scallions (sliced thin, white and light green parts only)
  • 6 eggs, scrambled
  • a handful of fresh parsley, minced for garnish (optional - I left it out because I didn't have any on hand)
  • salt & pepper, to taste
  • 1 pound raw shimp, peeled and de-veined
  1. Place the julienned zucchini in a colander or wire strainer and toss with the salt until coated. Allow to sit for 20 minutes to drain excess water, then rinse and pat dry with paper towels. (Melissa advises you do this step to improve the overall quality of your zucchini noodles. Those of you that make zucchini noodles know how watery they can get if you don't sweat them with salt like this first.)
  2. While the zucchini is sweating in the colander, heat a large skillet over medium-high heat. Mix the almond flour with the coconut oil, sprinkle it with a smidgen of salt, then sauté in the pan, stirring often with a wooden spoon, until it’s toasty brown, about 1 minute. Remove from pan and save for garnish.
  3. Add the shrimp to the pan with a bit of olive oil and saute until just done when they begin to turn opaque. Remove shrimp to a bowl off to the side and drain the liquid out of the pan.
  4. Return the pan to the heat and add the scallions and zucchini noodles. Sauté until just tender, about 1-2 minutes. Push the noodles to the side of the pan, and reduce heat to medium-low. Wait a minute; it’s essential that the pan cools down before adding the eggs. Add the olive oil and garlic. When the garlic is fragrant, about 20 seconds, pour in the eggs and allow them to cook until just beginning to set a tiny bit. Mix the zucchini noodles into the egg and continue to stir gently and continuously until the egg is set and clinging to the noodles. Add the shrimp back to the pan and mix well. Taste, then add salt and pepper to your liking.
  5. Serve noodles in a deep bowl and sprinkle with the almond flour crumbs and minced parsley.


Sweat that zucchini, baby!
Ick... zucchini water
 
Mmmm... almond breadcrumbs!


SCRIMPS!


DON'T OVERCOOK THESE OR THEY WILL BE MUSHY!

This part got a little weird for me, but I swear,
the eggs are the best part of the whole dish.

The idea is to scramble the eggs into the noodles and
give everything a good, eggy coating.