Wednesday, September 19, 2012

Quick and Easy Banana Pancakes


This recipe is inspired by the post for 2 Ingredient Pancakes shared by karaklett on FastPaleo.com. I've tried a few Paleo pancake recipes and this one so far is my favorite. The first time I made it, they came out very thin (almost like a crepe) so my husband had the genius idea of incorporating a spoonful of nut butter to the batter to make them a little fluffier. BRILLIANT!


You might have noticed I updated the main photo and a few others for this recipe. Don't worry, I didn't change anything else! Here is the old main photo, if it makes you feel better.


Ingredients
  • 1 super-ripe banana
  • 1 spoonful of creamy nut butter (like almond or sunflower or cashew)
  • 2 eggs
  • 1 tsp pure vanilla extract
  • Coconut oil
  1. Mash the banana with the nut butter until it has a batter-like consistency. You want to make sure you get rid of any chunks and don't have any pockets of nut butter that haven't been mixed in. You can do this in a food processor or blender. I used my stick blender and a mixing bowl.
  2. Break two eggs into your bowl and beat them into the mixture. Don't overblend/mix or your batter will be way too loose.
  3. Mix in the teaspoon of vanilla.
  4. Heat a few spoonfuls of coconut oil in a large skillet or griddle over medium-low heat. When the pan is ready, it will sizzle if you drop a bead of water on it.
  5. Using a ladle, or large spoon, drop some batter onto the pan. (I do one ladle-ful to make a little larger than silver-dollar pancakes and I can fit two at a time in my large frying pan.) When the pancake bubbles on top and the underside is golden brown, flip it over using a very thin spatula. Brown the other side and then remove to a plate.
  6. Top with whatever you wish and serve! Makes about 6 pancakes.
What can you top it with??? ANYTHING! Because of the banana, they will already be fairly sweet but you can drizzle on a little agave nectar or pure maple syrup. I personally like to heat a half a pint of blueberries on the stove over low heat until they begin to soften and ooze and use that as a topping. You could also probably slice some fresh strawberries on top or maybe spread on some coconut manna.


Hulk Spatula angry. Hulk Spatula too thick. Break pancake.
You no like when Hulk break pancake.

OH NO! What's with the ugly pancake? If this happens, it means your heat is too high. Your batter will bubble up and create thin and uneven parts and the edges will be all funky.
There we go, much better!
 

Saturday, September 8, 2012

Creamy Spinach Artichoke Soup


Summer is coming to a close and that means it is time to switch gears to fall and winter recipes. I think I'm a much better winter cook than summer cook. I love making heaping pots of soup, roasting meats and vegetables in the oven, and making hearty recipes that warm you up. I tend to stick to soups that have lots of "stuff" in them. I don't typically eat a soup that doesn't contain chunks of meat and vegetables. (You'll never see me eat a bowl of tomato soup or butternut squash soup - no matter how good it looks I just don't care for it!) So for me to say I absolutely LOVE this spinach artichoke soup, you know it must be AMAZING. I actually took the inspiration for this recipe from a WeightWatchers recipe. I know, I know, no need to roll your eyes. Trust me, though, it's awesome.

Ingredients
  • 1-2 Tablespoons extra virgin olive oil
  • 1 medium onion, chopped
  • 2 garlic cloves, coarsely chopped
  • 10oz fresh spinach
  • 1 (14oz) can artichoke hearts, drained
  • 3 cups low sodium chicken or vegetable broth
  • fresh ground black pepper
  • Salt
  • 1 can chilled full fat coconut milk (cream separated from the water***)
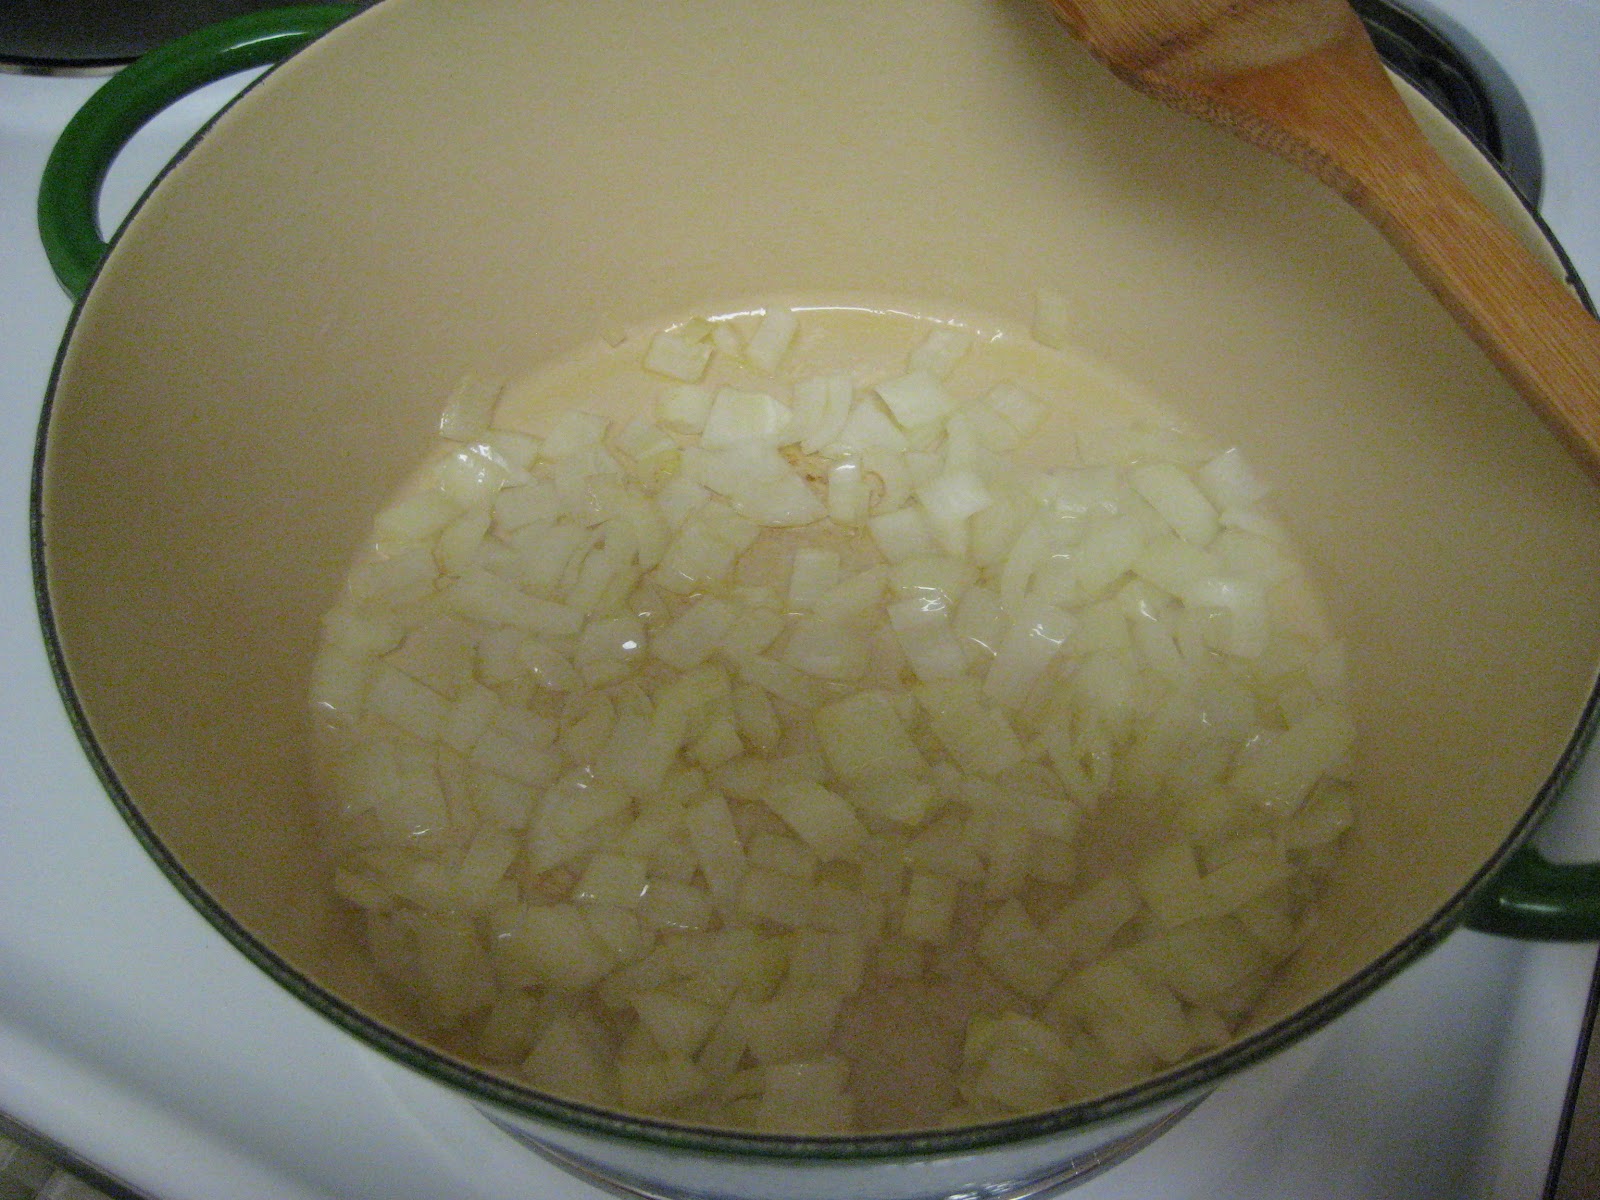
  1. Heat the olive oil over medium high heat in a large dutch oven. Saute the onions until they begin to become translucent. Add the garlic and continue to saute for another minute or so until fragrant. Add the spinach and artichoke hearts and saute for an additional 2 minutes until spinach begins to wilt.
  2. Add 3 cups of vegetable or chicken broth and salt and pepper to taste. Bring to a boil, then lower the heat and simmer for 10 minutes.
  3. Stir in the coconut milk cream. (It may look a little gross at this point, but trust me, you're on the right track.) Let cool for 5-10 minutes and add to a blender. Blend to desired consistency.
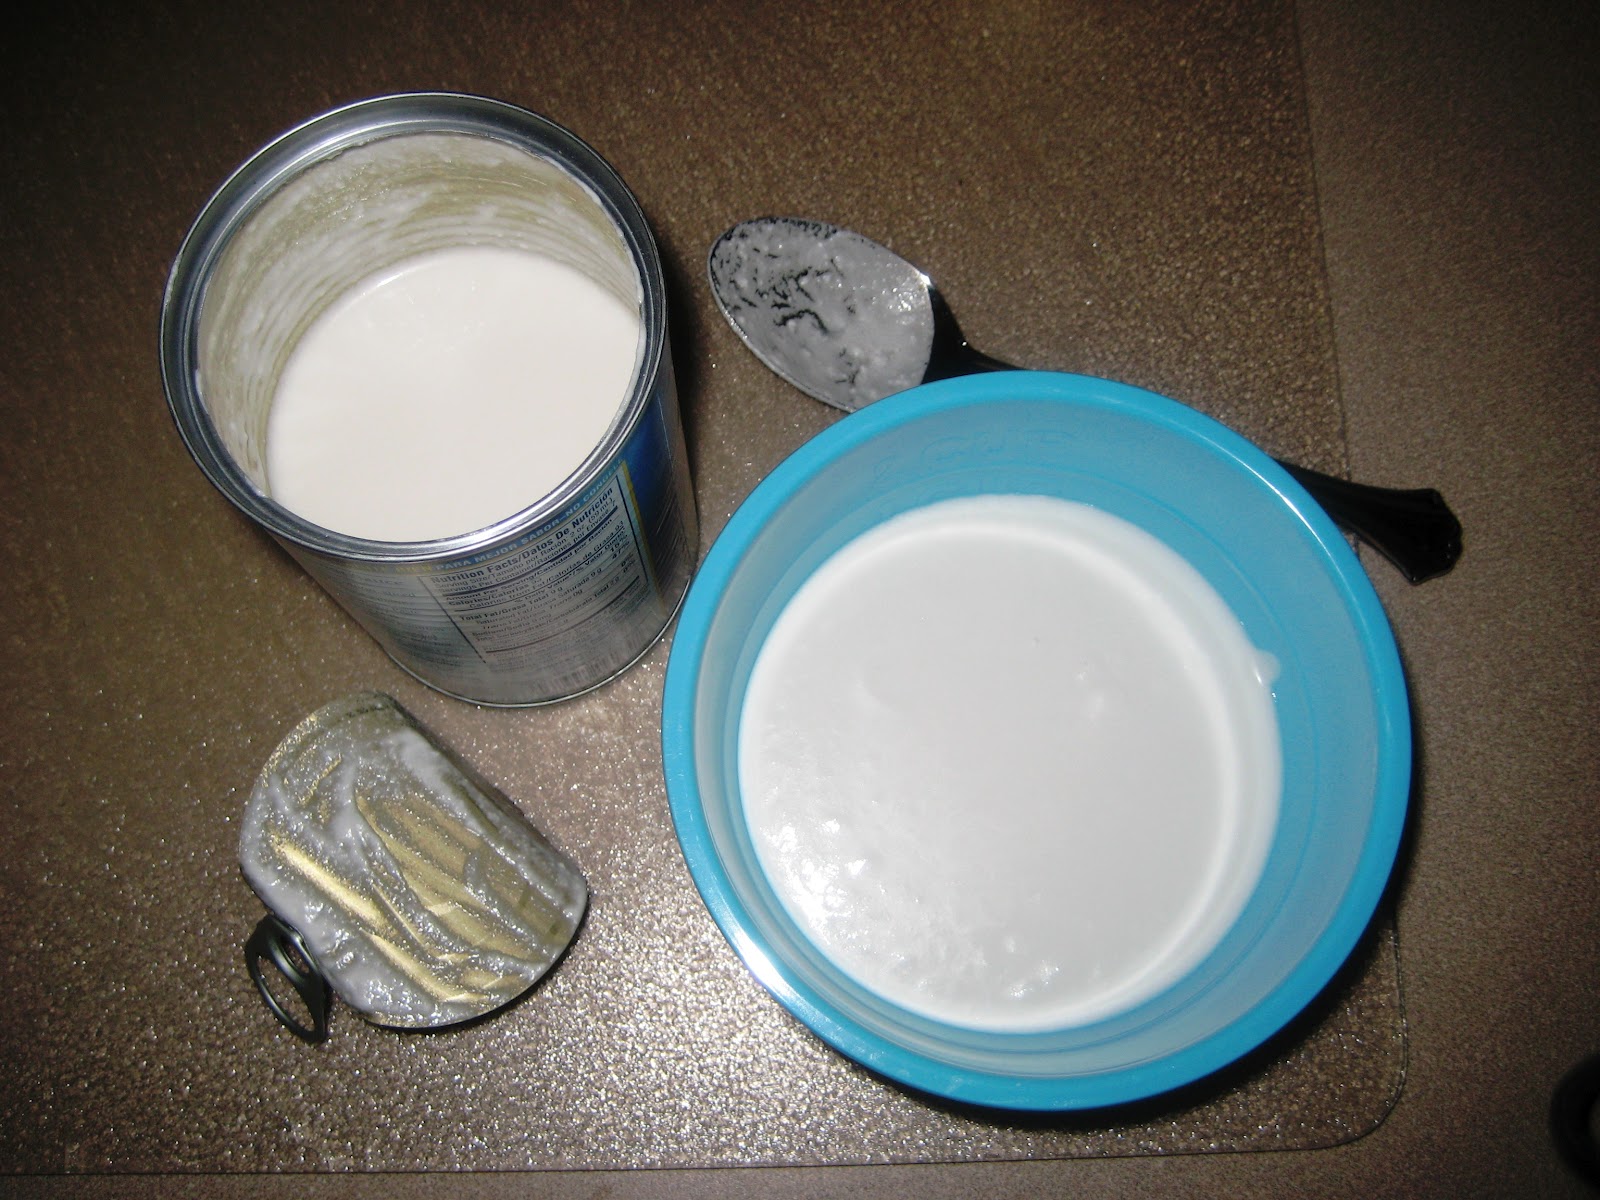
***When either left sitting alone long enough, or chilled in the fridge, coconut milk will naturally separate with the creamy solids rising to the top and the clear water gathering in the bottom. DON'T SHAKE UP YOUR CAN OF COCONUT MILK! Carefully open the top and spoon the creamy portion into a small bowl. You should be left with about 1 cup of creamy solids which we'll use to make the soup "creamy" (you can do whatever you like with the leftover water). I promise the soup won't taste like coconuts.


Tips:
  1. This soup freezes well and reheats like a champ. Don't be afraid to make a little extra for instant warm gratification on a yucky day.
  2. If you do dairy, you can add some parmesan cheese to the mix which will almost make the soup reminiscent of spinach artichoke dip. Stir in about 1/2 cup grated when you add the coconut cream, or throw in a few pieces of the rind when you add the broth. If you add rind, don't forget to fish them out of the pot before blending.
  3. The soup tastes really great with chicken. You can either drop in a few pieces of steamed or grilled chicken, or use the soup as a sauce for boneless, skinless chicken breast.


Monday, August 20, 2012

Dairy Free Mint Chip Ice Cream


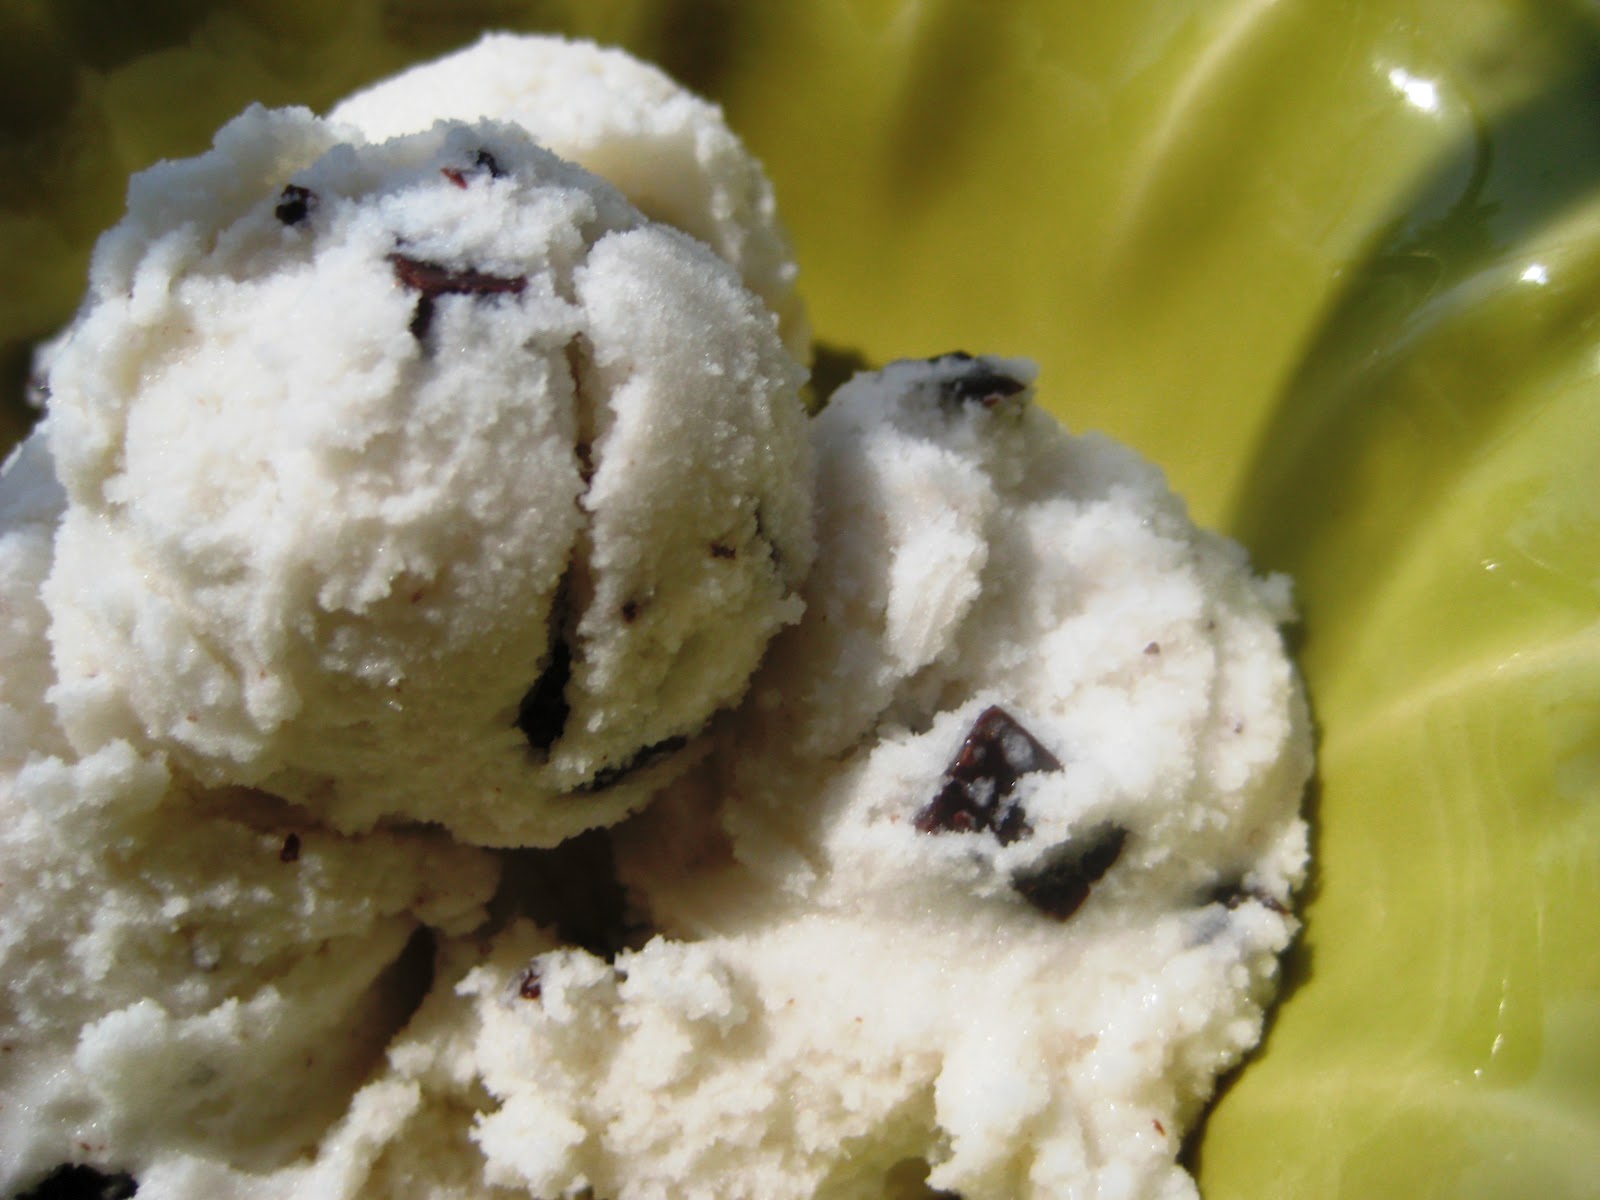
This summer has been disgustingly hot and humid. I finally tossed my ice cream maker bowl into the freezer intent on cooling off with some delicious home-made ice cream. In my pre-Paleo days, my all-time favorite ice cream used to be Haagen Dazs Mint Chip. I remember it was the first mint chip ice cream I had seen that wasn't artificially colored green like most other mint ice creams. I also remember that after I took the first bite I was ringed in a warm circle of light while a choir of angels started singing. Yes, it's THAT good. And this dairy-free version is pretty much the mirror image of the real thing so you are certainly in for a treat.

The only thing about making home made ice cream from coconut milk is that the consistency is a bit off. Fresh out of the ice cream maker will be VERY soft, although yes, ready to eat. I freeze mine for half a day at least before enjoying, so it will harden up and not turn to liquid the minute it hits your bowl. When eating the leftovers out of the freezer, I leave the container sitting out for 10 minutes or so before I start hacking into it so it can soften up a little.

This recipe is for a 2qt capacity ice cream maker. If you have a smaller machine, cut the recipe in half.

Ingredients
  • 2 (14oz) cans coconut milk (regular, not reduced fat)
  • 1/2 cup raw honey
  • 1 tsp pure vanilla extract
  • 2 tsp pure mint extract
  • 1 pinch sea salt
  • 1/2 cup chocolate chunks* (% cacao of your choosing)
  1. In a large bowl, whisk together the coconut milk, honey, vanilla, mint, and salt until combined. (If you have very solid honey, melt it a bit first in the microwave.)
  2. Dump the mixture into your ice cream machine and process according to your machine's directions. (I have the 2 qt Cuisinart ice cream maker and I process 30-35 minutes total.)
  3. Dump in the chocolate chunks while the machine is moving for the last 5-10 minutes of processing. (I dump mine in at the 25 minute mark.)
  4. Turn off your machine when the ice cream reaches your desired consistency. (The best you will get is like an icy soft-serve.)
  5. You can eat the ice cream right away - but I do mean RIGHT AWAY as it will immediately begin to melt the minute you scoop it into a bowl. Or - you can put it in an airtight freezer-safe container and let it harden up a bit. When storing in the freezer, place some plastic wrap flush against the top of your ice cream to prevent ice from forming before sealing the container. I let mine freeze at least half a day before enjoying.
*Note: You have several options when it comes to the chocolate chunks. I have bought good-quality 72% cacao dark chocolate and chopped it up into bits with a knife as you can see below. They also sell bittersweet chocolate chips (60% cacao) which can be chopped up into smaller bits. And if you want to be strict Paleo with this recipe, you can even purchase cocoa nibs (100% cacao bits). And if you're gross, you can use unsweetened baker's chocolate. But, ewwww.


About 5 squares of this chopped is 1/2 cup
I like having bits of varying sizes - some larger bits, some
very small, and I even scoop up all the little shavings left
on the cutting board.
Whisk together everything but the chocolate.
Dump the mixture into your ice cream maker.
Add the chocolate about 25 minutes into processing.
Look at them chips get in there.
Spatula Mickey says he also hears the angels singing.
(I recommend using a rubber spatula to scrape out
your bowl so you don't scratch it.)
Store in an airtight, freezer-safe container.
Place plastic wrap flush against the surface of the ice cream
to prevent ice from forming.
Enjoy on a nice hot day!

Sunday, July 22, 2012

Easy Chicken Stir Fry

Continuing on my adventure into Asian-inspired cooking I wanted to try a chicken dish this time around. Feeling brave enough to venture out on my own without a recipe to follow I shocked myself that this came out so well the first time around. I chose red onion, scallions, broccoli, and sugar snap peas for my vegetables, but feel free to use any stir-fry vegetables you like. I actually forgot my husband is allergic to sugar snap peas so now he thinks I'm out to poison him. It doesn't take away from the fact that this meal came out DELICIOUS! And now all the leftovers are just for me. Whoo!

I chose to serve this over cauliflower rice, which still makes this a one-dish meal, but you can omit the cauliflower if you don't like it or don't feel like adding an extra step.

Ingredients
  • 1 head cauliflower, cut into florets
  • Extra Virgin Olive Oil
  • 2 Tbsp Sesame Oil (plus more if needed)
  • Kosher salt
  • Fresh ground pepper
  • 1 tsp plus 1 tsp ground ginger
  • 1.5 lb chicken breast, sliced (I bought pre-sliced chicken "chicken for stir fry")
  • 1 large red onion, thickly sliced
  • 2 bunches of scallions, sliced, white and light green parts only
  • 6 cloves garlic, coarsely chopped
  • 1 bag of broccoli florets (or a few broccoli crowns, cut into florets)
  • 2 packs of sugar snap peas (about 12oz to a pound)
  • 1/4 cup raw coconut aminos
  1. Prepare your cauliflower by pulsing the florets in the food processor until they are a rice-like consistency.
  2. Heat a few tablespoons of olive oil in a large frying pan or wok over medium-high heat. Add the cauliflower to the pan and sprinkle with a few pinches of salt. Saute a few minutes until al dente and put off to the side in a bowl.
  3. Wipe the pan out with some paper towels and heat about 2 Tbsp olive oil over high heat. Add the chicken to the pan and sprinkle with some salt, pepper, and 1 tsp ground ginger. Saute until cooked through but not dried out. Put the chicken on a plate off to the side.
  4. Add 2 Tbsp sesame oil to the pan and add the red onion, garlic and scallions and saute about a minute. Add the broccoli and peas and saute until just soft. Add more sesame oil if your vegetables start to get dry.
  5. Add the chicken to the pan and pour in the 1/4 cup coconut aminos and remaining 1 tsp ground ginger and mix well to coat. Allow to cook another minute or so until the flavors are absorbed.
  6. Remove from heat and serve over a few scoops of cauliflower rice.


Thursday, July 12, 2012

Brussels Sprouts Chips

I made some roasted brussels sprouts the other night and a few outer leaves came loose while in the oven and got really crispy. And just as significant as the accidental discovery of penicillin - welcome brussels sprout chips to the world!

One of my favorite snacks are kale chips. I make the lemon kale chip recipe from Elana Amsterdam of www.elanaspantry.com. I figured brussels sprout chips could follow the same concept.

Ingredients
  • 1lb brussels sprouts
  • 2 Tbsp extra virgin olive oil
  • 1 Tbsp lemon juice
  • 1/4 tsp sea salt
  1. Preheat oven to 350F.
  2. Wash the brussels sprouts and remove any dingy, brown leaves. Use a sharp knife to trim the stem up to the base of the outermost leaves. Pull the leaves off and trim the stem down again to pull off another layer of leaves. Do this until you get down to the paler green wrinkled core. You can discard the cores or save them for use in other recipes.
  3. Place leaves in a large bowl.
  4. With hands or a wooden spoon, massage oil, lemon juice and salt into the leaves.
  5. Spread leaves on a parchment lined baking sheet.
  6. Bake at 350F for 10-15 minutes until leaves are browned and crispy (note they will shrink considerably).
bigger sprouts mean more leaves...

Make sure you trim the stem very close to the leaves because
any thick stem on the leaf will not get crispy when you roast it

The usable leaves from this sprout are on the left and
the pale green core and stem slices are on the right.


Now that's what I call shrinkage...

Saturday, July 7, 2012

Recipe Test - Asian Beef with Broccoli


I never thought I would eat something even remotely resembling this after switching to Paleo. When I took the first bite, a stream of happy expletives came pouring out of my mouth that I will spare you all from reading.

Let's just say, I F%$@#* LOVED IT!

I got this recipe from a blog (cupcakesomg.blogspot.com) who adapted it from the Make It Paleo cookbook (that I don't own, but hey, my birthday is coming up). I didn't change anything, but I did figure out how to cut down on prep time with some shortcuts which I will share at the end. This meal does come together very quickly. I also served mine over cauliflower rice, you know, so I could get the full Chinese Food Takeout experience - so I will add those cooking steps in as well.

  • Extra virgin olive oil
  • 1 medium-sized head of cauliflower
  • 2 Tbsp sesame oil
  • 5 cloves garlic, minced
  • 2 Tbsp ginger, minced
  • 1-2 lbs. beef, cut into 1" cubes
  • 4-6 cups broccoli florets
  • 1/2 cup green onion, thinly sliced (white and light green parts only)
  • 1/4 cup coconut aminos
  • salt and pepper to taste
  • 1 tsp. red pepper flakes (optional)
  • 1 Tbsp white sesame seeds, for garnish
  1. Cut cauliflower into florets (discard the stem and leaves) and pulse in a food processor until you get the consistency of rice.
  2. Heat about a tablespoon or two of olive oil in a large frying pan over medium-high heat. Add cauliflower and a few pinches of salt and saute a few minutes until soft, but not mushy. Let stand off to the side in a bowl. You can clean out the pan by wiping with a paper towel and prepare for the next cooking steps.
  3. Heat sesame oil in a wok or skillet over high heat.
  4. Add garlic and ginger to wok, and saute for 2 minutes until oil is infused.
  5. Add steak, stirring until browned on all sides.
  6. Once steak is seared, add broccoli. Continue to saute over high heat.
  7. Add green onion, and an extra tablespoon of oil if needed.
  8. Add coconut aminos and season with salt, pepper, (and red pepper flakes).
  9. Continue to saute another 2-3 minutes, until all the flavors are combined.
  10. Garnish with a sprinkle of sesame seeds and serve over cauliflower rice.

And now time for the SHORTCUTS! mmmm... shortcuts
  1. Buy bagged cauliflower and broccoli that are already cut into florets.
  2. Use a garlic press to crush the garlic instead of mincing.(Don't try it on the ginger;  I did and all it did was smush it and squeeze out the juice.)
  3. Instead of fresh garlic you could also substitute a tsp of garlic powder.
  4. Use about a tsp of powdered ginger instead of peeling and mincing fresh.
  5. Buy beef that is already pre-cut - usually called stirfry beef.


Wednesday, July 4, 2012

Roasted String Beans with Cherry Tomatoes and Shallots

Now that we have progressed into summer I am so happy to hit the produce section in the grocery store each week. Without fail, I have to pick up a carton of yummy heirloom cherry tomatoes. In addition to being delicious and each having their own unique flavor, their different shades of color really class up whatever dish you put them in. I had some string beans sitting in my vegetable drawer right next to the tomatoes so it wasn't hard to put two and two together that these babies needed to hop in the roasting pan together. You can probably get this whole thing into your oven in about 5 minutes.

Ingredients
  • 1.5lb string beans, washed and trimmed
  • 2 pints of cherry tomatoes (preferably heirloom)
  • 3 large shallots, peeled and thickly sliced vertically
  • Extra virgin olive oil
  • Salt and fresh ground pepper, to taste
  • Fresh herbs of your choice (I used chopped tarragon, rosemary, and lemon thyme)
  1. Preheat oven to 400F.
  2. Combine the string beans, cherry tomatoes, and sliced shallots in a large roasting pan.
  3. Drizzle the vegetables with olive oil.
  4. Sprinkle with a few pinches of salt and some fresh ground pepper, to taste.
  5. Take any fresh herbs you like and sprinkle them over top. (you could substitute with dry if that's all you have - thyme and rosemary work well)
  6. Give the pan a good few shakes to mix and coat the veggies in oil. (You could even add a few splashes of lemon juice for some extra flavor.)
  7. Roast about 25-30 minutes on a middle rack in the oven, until the string beans are soft and the tomatoes have blistered. Check the pan a few times while roasting and shake again to coat with the oil so none of the veggies burn.
Before

After