Saturday, March 9, 2013

All the Knife You'll Ever Need...


I want to show you the gigantic waste of cutlery I've accumulated in my kitchen... horrendous, I know.

Do cut me some slack because I built this collection up gradually - I didn't go balls to the wall right out of the gate. Some of those knives were freebies and hand-me-downs when I first got my own place, then I bought a few "nicer" ones for myself (hence the highly-unnecessary santoku knives on the magnetic strip), and then when I got married I got that beautiful Henckels knife block about which I was SO EXCITED.

I've mentioned in a few blog posts how I attended a knife skills class last year which really changed my life and how I prepare food. After learning what tools you really need to get the job done and coming back to that kitchen full of knives, boy did I feel silly.

So here it is, folks. The only cutting tools you ever need to have in your kitchen. With proper care, you'll never have to replace them, either. Pictured below from top to bottom:

1) honing steel
2) cook's knife (aka 'chef's knife)
3) serrated knife (aka 'bread knife')
4) boning knife
5) paring knife
there are also a pair of 6) kitchen shears
and they are all sitting on a bamboo 7) cutting board


Let's talk about each of them and their importance in your kitchen arsenal.

Honing Steel


Basically, you use this to keep your knives sharp. There is a difference between sharpening and honing. At the microscopic level, the edge of a knife has all these little metal fibers all standing at attention. As you cut, those fibers bend down and out of shape which makes your blade duller. By simply honing each time before you start cooking, you will straighten those little metal soldiers right back out, preserving your knife edge.
microscopic knife edge photo courtesy of
sharpeningtechniques.blogspot.com
Eventually, though, those little fibers may start to break off (especially if you cut on an improper surface) at which time a proper sharpening may be in order. I recommend you bring your knife to a professional when it finally needs sharpening. They will use various expensive tools (diamond bevels, ceramic thingies, etc etc) and actually regrind the edge of your knife back to sharpness creating some nice new little microscopic fibers. Here is a great video on how to hone, because doing it wrong can cause more harm than good.

NOTE YOU SHOULD NEVER HONE A SERRATED EDGE KNIFE, ONLY STRAIGHT EDGES.

Cook's Knife


This is the knife you will use over 90% of the time you prepare food. It is your rock, your food prep partner in crime. Forget the santoku. Forget the carving knife. Forget utility knives, vegetable knives, tomato knives and any other knife you've been convinced you need. If you could only ever have one knife in your kitchen, THIS WOULD BE THAT KNIFE. And don't puss out about the size - bigger really is better.
This should help put my knife in perspective for you...
it runs the length from the tip of my fingers back to my elbow.
That's some Crocodile Dundee shit right there!
When I first got my fancy knife block, it had an 8" chef's knife that I was afraid of using. It just seemed like overkill to me. I preferred my crappy little "vegetable knife" which is really just a way of selling me a small 6" chef's knife. An 8" chef's knife is appropriate; a 10" is better; and a 10" wide in my book is the bee's knees.

Why are smaller knives a complete waste? A few reasons. First, you have to lift them higher in the air at a more severe angle to cut larger food items. That's dangerous. Second, it requires more elbow grease to go through food items. With a larger, heavier knife, the knife really does all the work with its own weight. And third, there isn't much room between the blade of the knife and your knuckles which makes cutting awkward and difficult if you can't get the blade flat on the cutting board. See below...
Nice and roomy with the 10" wide knife
(even an 8" blade will leave enough room)

Squished knuckles with the 6" blade
And I'm finding it difficult to cut all the way through
because I can't get the blade flat against the cutting board

Serrated Knife
Serrated knives are usually referred to as bread knives. This one in particular is called a "panini knife". Seriously. Why on earth would someone spend $100 on a knife just to cut paninis?!? What a waste of money. But every cook should have one good serrated knife. It's great for powering through Paleo breads and cakes without ripping them to shreds, but also for cutting skinned vegetables like squashes or fruits like the pineapple. The serrated edge promotes the knife's ability to slice through, rather than squish the food.

I selected this particular style over other bread knives for the same reason discussed above - squished knuckles preventing the knife edge from meeting the cutting board. Most bread knives are shaped in a straight line from handle through to blade, but this one has a nice wide blade at the base.

Again, nice and roomy

Squished and awkward

 Boning Knife

Boning knives slice through meats like a boss but can be used on delicate fish as well. I got courageous enough to start cutting up my own whole chickens into parts (takes a little time, but is a huge money saver). This thin-bladed, incredibly-sharp knife goes through muscle, fat, sinew, tendon - everything but bone. You should never try cutting directly through bone. It's not meant for traditional cutting techniques like we use with vegetables, but rather for maneuvering through meat at tough angles as you separate it from the bone - hence the name "boning knife". I selected this model as the blade is somewhat hardier making it more appropriate for chicken, beef or pork. If fish is more your game, try a filleting knife which is very similar only the blade is thinner and more flexible to handle the more delicate flesh of fish.


 Paring Knife
Paring knives are used for small and delicate jobs. You may use them for making small garnishes or de-seeding a jalapeno. Some use it for quick peeling of an apple, hulling strawberries, or de-veining shrimp. It generally isn't used on a cutting board with traditional cutting techniques. Because it is small and meant to be held aloft, you have much more control over this knife and freedom of movement.

Kitchen Shears
I love my kitchen shears. They're not just for cutting open bags of almond flour or packages of bacon. They can snip delicate herbs or chomp through tough meats to make slices for stir fry or cubes for stew. Sure, you could do the job of kitchen shears with a cook's knife or a boning knife, but sometimes a good pair of shears are quicker and more maneuverable. They can also save you from getting your cutting board dirty if you can hold and snip.
Look for a pair of shears that separate for more thorough cleaning. This pair also has a serrated edge on the inner edges above the handles and below the fulcrum which can be used for opening stuck bottle tops. (There may be a better use for that part, but that's the best I've figured out so far.)

Cutting Board
If you are going to make all this investment into cutting tools, you best pair them with the right cutting surface, otherwise you could cause damage to your knives and dull them out - thus rendering everything we've talked about useless. What kind of cutting board is best - well that's debatable. Wood and bamboo are great materials for not ruining your knives and could come from sustainable sources; they're also biodegradable. Everyone agrees that glass boards will murder that delicate knife edge, so stay away. As for plastic/acrylic - the critics are split. Some say plastic is great, others say it will dull your knives. I'm not a scientist so I'm not sure.

In comparing wood or bamboo to acrylic/plastic, you'll need to decide what works best for you and your lifestyle. I have chosen a bamboo cutting board. Wood or bamboo must be washed by hand in very hot soapy water and dried right away. You must periodically oil it with food safe mineral oil. You can't put wood or bamboo in a dishwasher or leave it soaking like you could with acrylic or plastic. You must especially take care when dealing with raw meat, fish, and dairy as the bacteria can soak into the porous wood fibers if not cleaned properly. You should never put raw meat on the same surface you use for other food prep.

My board is double-sided. I have a "raw meat side" (the side with the groove) and the flat side which is used for fruits, vegetables or cooked food which would be free of bacteria. Some people choose to keep a separate acrylic or plastic board just for raw meats which can be then tossed in the dishwasher so you are assured it is clean.

Whatever board you choose, ensure it is large enough so your largest knife blade won't hang over the edge. When using, it should be placed on a flat counter or table with a wet paper towel underneath to prevent it from slipping and sliding around your counter. You may also periodically disinfect the board (or remove icky smells) with a bleach/water or vinegar/water solution.

Ditch Everything Else and Get the Basics (but BETTER!)
Since I now have my staple cutting tools, I can simplify my knife block. And now I see what a huge waste of money this set really was.
Go from this...

To this - just 4 knives, a honing steel and kitchen shears
(just ignore those steak knives along the bottom - they don't count)
My four knives can do the same job as all those other knives on the left
NEVER buy a knife set. As you get the money, invest in really good quality knives in this order - cook's knife, paring knife, kitchen shears, boning knife, serrated knife. There are so many great brands out there - I just happen to like Henckels and Wusthof.

Building Your Knife Collection
So where can you find all these fine stainless steel specimens? Well, I added a new section to Stock My Paleo Kitchen titled Kitchen Cutlery and listed them all there for purchase through Amazon You can also try stores like Bed Bath and Beyond, Sur la Table, Williams Sonoma, or their respective websites as well. I do think everyone should take a class on knife skills. At the very least, though, go to the store and handle the knives. Get whatever feels most comfortable to you in a brand/material that's built to last. If kept properly, you should have these knives the rest of your life. (And this should go without saying, but NEVER put your knives in the dishwasher. Hand wash with hot, soapy water.)

Now go forth and do great things!

Saturday, February 2, 2013

Pigskin Chicken

Want to wow your friends on Superbowl Sunday with an awesomely Paleo guilty pleasure? This Pigskin Chicken is a TOUCHDOWN!!!
Ok, cheesy football analogies aside, this chicken is for sure the shiz. I wish I could take credit for the idea of using crushed fried pork skins for the "breading", but that bout of genius struck Paleo Mom on the Run instead of I. She and I took slightly different approaches, though, in terms of ingredients and method.
Fried pork skins, or pork rinds, or whatever you call them are not something I recommend you eat everyday. Even though the only ingredients should be fried pork skin, obviously they are greasy and high in fat (albeit gluten free and DELICIOUS). But, definitely enjoy in moderation. Mmmm... moderation.
Ingredients
  • 1 package chicken tenders (about 10)
  • 3oz fried pork skins
  • 1 Tbsp dried rosemary
  • 1 tsp paprika
  • 1 tsp garlic powder
  • fresh ground black pepper
  • coconut or extra virgin olive oil (for greasing the pan)
  1. Preheat oven to 350F. Grease a large roasting pan, or a sided baking sheet with a light coating of oil.
  2. Open the top of the bag of pork skins to release the air and start crushing the skins to a sandy powder with your hands. Once it reaches the desired consistency, add the rosemary, paprika, and a bit of ground pepper to the bag. Why didn't I add salt? You'll get plenty of salt from those pork skins. Mix well.
  3. Bread each piece of chicken individually by dropping it into the bag and shaking it up (kind of like 'Shake and Bake'). Once throroughly coated, use a fork to fish it out and lay it in the pan.  (I left my chicken tenders whole, but if you wanted to serve a larger crowd as more of an appetizer or nibblin' you could snip them into bite-sized strips with some kitchen shears before breading.)
  4. Bake for 20 minutes, then crank the oven up to broil and broil for another 5 minutes or so until nice and crispy.
Mmmm... pork skins (after I crushed them
I combined both bags into one)

Hulk SMASH!
Spices!
Shake and BAKE!
Betcha no one can tell these are pork skins.

Crispy and Amazing

Saturday, December 22, 2012

Acorn Squash Halves


I like acorn squash because it comes ready to eat in its own little "bowl".  It makes for an interesting presentation on your dinner table. You can make one squash half per person (which is what I do because I looooooooove me some acorn squash) or you can cut the roasted halves in half when serving so that one whole squash will serve four people. The choice is yours.

Ingredients
  • 1 acorn squash
  • grapeseed oil or melted coconut oil
  • 1 Tbsp clarified butter, divided (or you could substitute additional coconut/grapeseed oil if you don't do dairy)
  • 2 tsp agave nectar honey, divided
  • palm sugar
  • salt and fresh ground pepper to taste
  1. Preheat oven to 400F.
  2. Slice the acorn squash in half, lengthwise, from stem to end. Use a sturdy spoon to scoop out the seeds and innards. Take a sharp knife and score the inside several times.
  3. Brush the exposed squash meat with grapeseed or coconut oil to prevent burning. Fill each inner cavity with 1/2 Tbsp butter, 1 tsp agave honey, and 2 generous pinches of palm sugar. Sprinkle some salt and pepper, to taste. (You could even spice it up a bit more by sprinkling some cinnamon, ground cloves, or nutmeg as well.)
  4. Place squash cut-side-up in a baking dish filled with 1/2" water. Roast in the oven for about 1 hour - 1 hour 20 min. The squash should be very soft, the top browned. Halfway through baking, spoon the sweet buttery sauce over the squash meat to distribute the flavors.
  5. Serve one half for each person, or cut the halves in half, taking care to split the buttery sauce between each half.
    FIN!

I like to use my large serrated knife to cut squash.

Scoop out the innards, just like you would for a pumpkin.

Don't forget to score your halves with a knife before filling!
(I always forget and wind up having to cut through butter and
sticky honey right before baking.)


And yup, forgot to score the squash. Gotta do it now.
Don't judge me.

Very important to fill your baking dish with water
so the squash stays moist and doesn't burn.

Tuesday, December 11, 2012

Chicken and Bits Soup


Sorry it's been a while since I posted. Things got pretty busy around here after the storm. I also lost the memory card to my camera which had hundreds of food pictures on it, so I have to re-make those recipes in order to get the photos. Boooooo.
 
As we get deeper into winter, I find myself gravitating more towards some nice warm soups. I re-worked my classic chicken soup recipe into what you see here. This soup is quickly becoming a favorite of mine. It has pretty much the same ingredients, but the main difference is the texture.
 
Whereas the classic chicken soup has large chunks of veggies giving it a rustico feel, all the veggies in this version are finely diced. (Hence the name - Chicken and Bits!) When I took that knife skills class a few months ago, the chef instructor talked a bit about texture and how it can affect the overall experience of food. So one night while making chicken soup, I got carried away with the knife and wound up dicing everything up tiny. By merely changing the texture of the soup, I experienced this recipe a whole new way. (Needless to say all that dicing took a while, so the second time around I used the food processor to cut down on some of the prep.)
 
Ingredients:
  • 8 - 10 cups chicken stock
  • 6 - 8 boneless, skinless chicken thighs
  • 1 large onion, finely diced
  • 3 sundried tomatoes, finely diced
  • 4 carrots, minced
  • 4 sticks celery, minced
  • salt and freshly ground pepper
  • 1 tsp dried thyme
  • 1 tsp dried rosemary
  • a few large handfulls of spinach, minced 
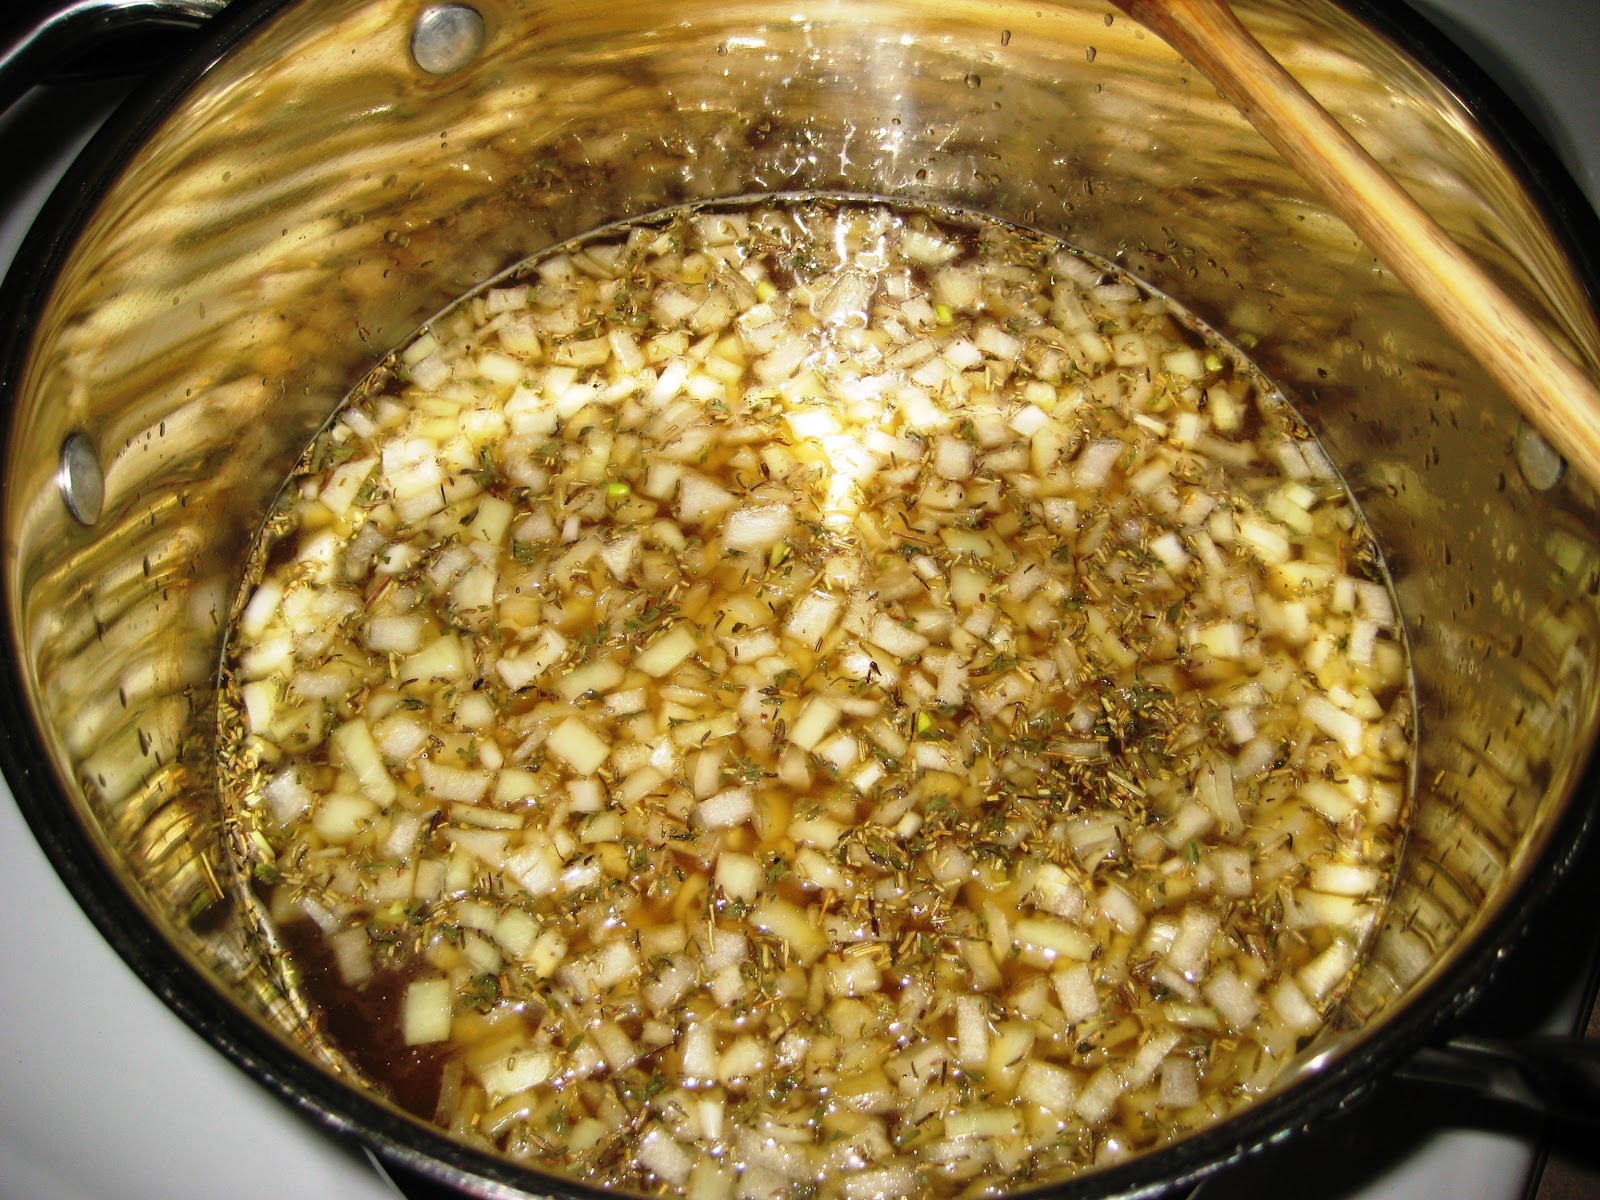
  1.  In a large stockpot, combine chicken stock, chicken thighs, diced onion, and diced sundried tomato. Season the soup generously with salt and pepper, to taste. Bring to a boil, then lower the heat and simmer until the onions are translucent and the chicken is cooked through. 
  2. Prepare the carrots and celery by pulsing in the food processor until minced. You can also put the spinach in the food processor, or mince it manually with a knife, but keep it separate as you won't add the spinach until the end.
  3. Add in the carrots, celery, thyme and rosemary (NOT THE SPINACH). Let simmer until the veggies are soft. At this point, the soup will look pretty liquidy and devoid of "stuff". You may panic and want to add more vegetables, but fear not. Once you get to the end it will be thick and hearty, I promise!
  4. Remove the chicken thighs to a plate and shred with a knife and fork. Return the shredded chicken to the pot and add in the minced spinach. Let cook another minute or so until the spinach is wilted.
Tips for Variations:
  1. If you do dairy, sprinkle a little grated parmesan cheese in the soup when serving.
  2. Introduce other veggies like zucchini (diced up, of course), or switch out the spinach with escarole.
  3. Stir in a little cauliflower rice for even more hearty texture.


I used my knife skillz to dice the onion,
but this can go in the food processor, too.

Food processor... such a time saver!


Looking a little thin at this point, but it will be awesome.

The chicken should be tender enough to pull apart with
a fork and butter knife - or even your hands.

Still looks kind of thin without the spinach in there...

Then... BOOM!
Once the spinach goes in, the soup immediately thickens up.

mmmm... bits


Friday, November 16, 2012

Sausage and Peppers


Making your own sausage meat is actually really easy. Putting it in a casing may require some special equipment, but who says sausage always has to be in a casing? I checked the ingredients on a package of sausages in the meat department of my local grocery store and guess what was on there, in addition to a host of nitrates? CORN SYRUP! Ick! Whyyyyyyyyyyyyyy!????

Now, there are some organic brands you could buy which don't contain any of those yucky additives, but they're usually more expensive, and unfortunately my grocery store doesn't carry them. Buy why bother when you can make your own with some ground pork and a few spices?!?!

You may remember my recipe test of Melissa Joulwan's Italian Sausage Eggplant Strata last year. I like making her Italian Sausage Seasoning Mix and keeping it on hand for times such as these. It turns plain ground pork into sausage in a snap!

This spice mix is more than you will need for the sausage and peppers recipe so save the extra in a small airtight container or empty spice bottle.

Italian Sausage Seasoning Mix
  • 4 tsp dried parsley
  • 1 Tbsp dried Italian herbs
  • 2 tsp ground black pepper
  • 2 tsp garlic powder
  • 2 tsp paprika
  • 4 tsp salt
  • 1 tsp crushed red pepper flakes
  • 1 1/2 tsp fennel seed (optional) - you should use this if you have it, though, it really gives the meat that sausagey taste
In a medium bowl, crush the dried parsley and Italian herbs with your fingers or a fork to release their flavor. Add the black pepper, garlic powder, paprika, salt, red pepper flakes, and fennel seed. Mix with a fork.

Sausage and Peppers
  • 2 lb ground pork
  • 3 Tbsp Italian Sausage Seasoning Mix
  • 4 bell peppers (mix of sweet red/yellow/orange and green), cut into chunks
  • 2 medium onions, cut into 1" pieces
  • Sea Salt
  1. With your hands, mix the Italian Sausage Seasoning into the ground pork, then crumble the pork into a large saute pan and brown the meat on the stove over medium-high heat. Remove the meat to a plate or bowl with a slotted spoon (leave the juices in the pan).
  2. Over medium-high heat, saute the peppers and onions in the same pan using the fats from the ground pork as your "oil". Season generously with salt.
  3. When the onions and peppers are tender, add the meat back to the pan and mix well. Cook another minute or so until well-combined.


mmmm... spices

amazing that a few spoons of this will turn ground pork into sausage

This is the leftover...


Boom. Sausage.


Saturday, November 3, 2012

Hurricane Sandy Aftermath

Flooding down my brother's block

Downed trees that tore up my father's back yard and crashed into the neighbor's house
National Guard lending aid on Long Island

Whoa boy. Hurricane Sandy rolled through here and left quite a mess. We were very lucky compared to others. We lost our power since Monday, but had no other damage or flooding. No one we know was injured, thank goodness, though several had flood damage or completely lost their homes. We've been doing what we can to help others and donate whatever we have to collection sites. Somehow, it doesn't seem like enough.

I was bummed to have to chuck everything in my fridge and freezer after the first few days of no power. Such a waste. I know it sounds silly, but for every bit of chicken I threw away, I felt like the poor animal died for nothing. :( Last night was the first night we had power back and I was verrrrry happy to cook a nice healthy meal in our kitchen. (Note: If you are having a bad day, Italian Sausage Eggplant Strata really soothes the soul.) Since our power returned, we also fed and housed my parents who can't currently stay in their home. We feel truly blessed to have literally weathered the storm so well.

While we count our blessings, anything anyone can do to help is greatly appreciated. It's getting cold here in the tri-state area and those with damaged homes or ruined homes will find their situation go from bad to worse. Here are some things we are doing to pay our good luck forward. We thank anyone who has the means and the motivation to contribute as well.

Donate Blood:
Never a pleasant experience for me, but I try to do this at least once a year. Hundreds of scheduled blood drives had to be cancelled due to the storm, so my husband and I are going out to give a pint to help make up some of the loss.
Find a Blood Drive

Give a Monetary Donation to a Legitimate Charitable Organization:
There are several organizations providing food, clothing, and shelter to those in need. Many are not accepting donations of actual goods and request instead monetary aid. NBC has put together a fairly comprehensive list of such organizations which have been checked out and vetted for legitimacy.
Give Money

Donate Food, Clothing, and Toiletries:
We scoured our pantries, closets and bathroom cabinets and gave what we could to a collection started by our CrossFit gym. There are dozens of local organizations (churches, firehouses, etc) willing to accept these items and distribute to those in need so check your local community pages to find such sites.

Help Your Neighbor:
We've spent several hours helping our families move furniture, mop up seawater, rip up carpet, move debris... There are plenty of others who need help, so if you are in the storm area, extend the hand of friendship to those around you. Sometimes, just a friendly face and an extra set of hands can go a really long way.
This Facebook Page is matching up volunteers with Long Beach residents needing help with cleanup - "like" it to get involved! We desperately want to go down there to lend a hand, but the gas situation is pretty dire and we don't have enough to travel back and forth, unfortunately.
Sandy Help LB

Our hearts go out to those devastated in the wake of Hurricane Sandy. If you haven't taken a moment to really appreciate all of life's blessings and little conveniences, this storm will certainly help put things into perspective for you. Best of luck to everyone still recovering.